
As I was leaving Ohio after a family visit, my Mom gave me a gift of a Porch Rules wooden plaque because she knows how much I love my screened porch. Once I was back home I scouted out a place to hang the art and realized the best place for it was a brick wall. Unfortunately, the brick wall of the porch and the wood plaque really clashed. The simplicity of hanging my new piece of art was now a challenge. I needed to find something neutral on which to hang the Porch Rules.
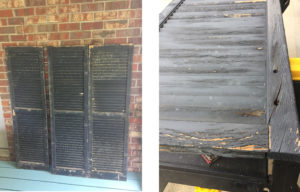
Reusing Old Wooden Shutters
I remembered that a year or so before we had removed wooden shutters from our house and, of course I kept all of them that were in decent shape. I dug those out from under the porch and repurposed the shutters to become the background for my Mother’s art gift. A soft brush, soap, and water wash removed 34 years of dirt, spider webs, and other nasty evidence of small creatures living nearby.
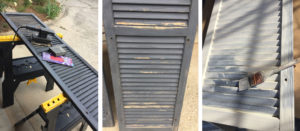
Sanding, Priming and Painting The Shutters
After the shutters dried, I sanded them lightly and prepared them for the primer coat. Since I knew I wanted to do a lightly distressed final finish I primed the shutters before painting the topcoat.
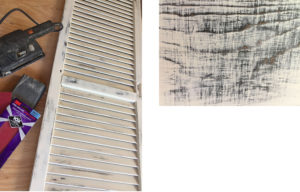
When the paint was completely dry I lightly sanded selected areas of the shutters and wiped them clean.
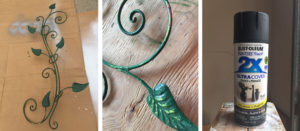
Adding Decorative Iron Planter To Shutters
The “Porch Rules” needed companionship on the shutter backdrop so I used a very old and slightly rusted ivy wrought iron plant hanger that I bought at a flea market years ago. It had been in storage so I loved being able to use it again. It was still in pretty good shape and only needed a light sanding before painting it with Rust-oleum “Painter’s Touch” Paint and Primer for metal.

Painting Flower Pots And Adding Trailing Plants
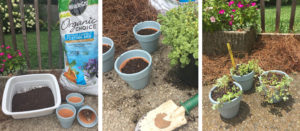
Now all I needed was pots and plants. I bought 3 small pots and, again, primed and painted them using paint I had on hand. To keep the finish smooth, I painted the top and let them dry then turned them and painted the bottom so the finish would dry smooth. I planted a trailing sedum in the pots and hoped they would grow fast.
Finishing Touches and Hanging Art
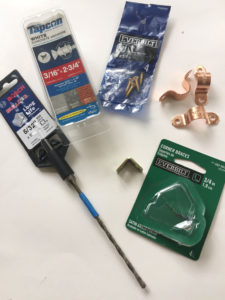
This step required an additional trip to Home Depot to get concrete anchors. Since we were hanging the shutters on a brick wall we wanted to make sure the screws penetrated the mortar of the brick rather than the brick itself. Looking ahead, there will probably be a time when it needs to be removed from the wall, at which time the mortar can be repaired…the brick…not so much.
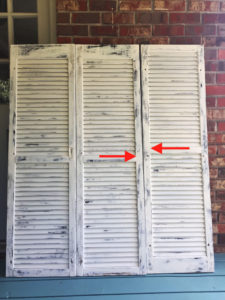
Everything was going well until we started to hang the second shutter. That’s when we realized I had painted the wrong side of one of them and now it didn’t line up with the other two. Yes, it’s a very small difference but it would drive me crazy if we hung it that way. So, we took it off the wall and everything stopped until I primed, painted and lightly stressed the other side of the shutter!! Stuff happens!!
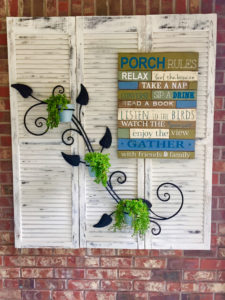
Now we’re down to the final stretch of this project. The shutters were anchored into the grout with no damage to the brick. The rustic art piece was hung using L-shaped anchors top and bottom so it won’t end up on the floor in pieces if we get a strong wind blowing through the porch. The wrought iron planter was anchored in 2 places and the Sedum pots were added. The unexpected gift of art is a nice addition to our screened porch. Thanks to my Mom!
Creativity works magic!
Loved this project! Your willingness to share the steps to create it encourage me!
Porch rules…a place to relax after some hard work 😉