There’s nothing like the feeling of picking fresh veggies right off the plants in your own garden. We recently harvested peppers, eggplant, and tomatoes, with zucchini coming soon. Earlier this spring, we bought cedar ready-to-assemble raised beds that were a breeze to put together. We already had most of the natural materials needed to fill them. So, after purchasing fresh organic garden soil, we went to work setting up raised beds to grow our own vegetables and dehydrate extra peppers and eggplants for later.
Determine Where to Place Raised Beds
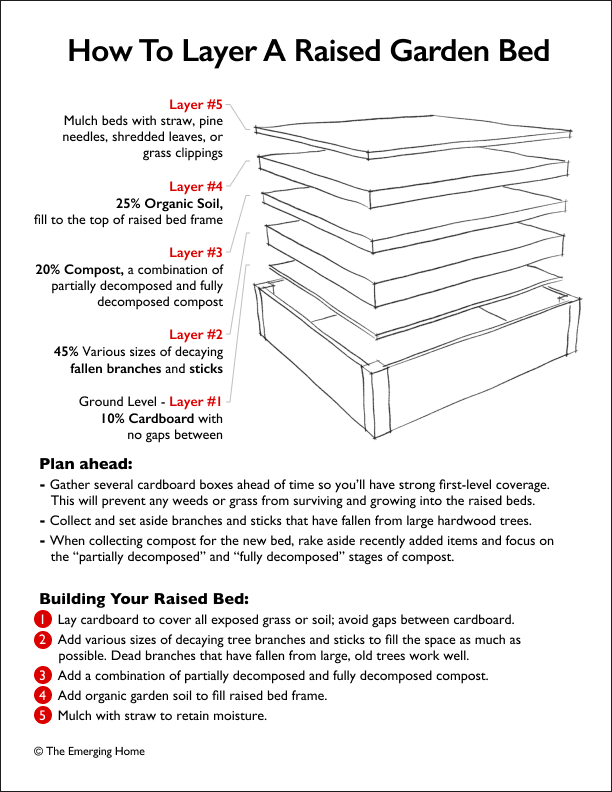
There was no question that our four raised beds would be placed within the fenced area of our yard. While establishing our woodland garden, we learned that there are many deer in our neighborhood, and they will eat their way through your most loved plants and not even blink an eye in your direction! We also confirmed that the beds should be located where they receive a minimum of 6-8 hours of sun per day and are convenient to a water supply. Below we’ve included a detailed downloadable or printable diagram that details the contents of each layer of the raised bed as well as pre-planning and assembling tips.
Downloadable Plan For Building A Raised Garden Bed
Now, it’s time to set up the ready-to-assemble raised beds to grow our own vegetables.
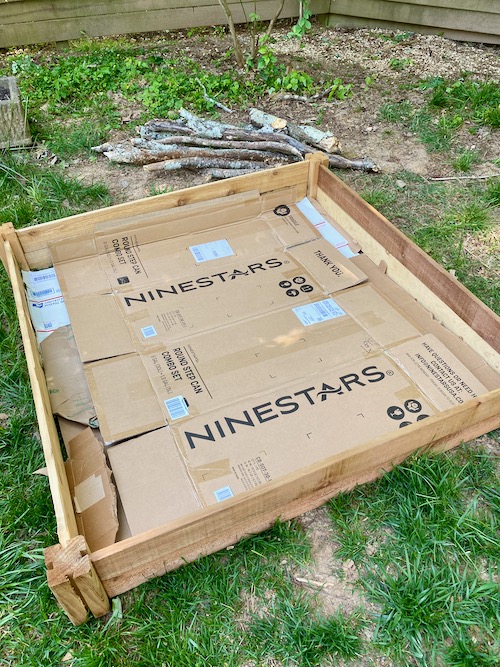
Place A Cardboard Barrier and Tree Branches In Raised Bed Frame
For layers 1 and 2 of your raised bed, it’s helpful to plan early and save your cardboard boxes from orders delivered to your home; or get the cardboard from a clean, local source to place at the bottom of the raised bed. Cut it to fit tightly against the sides of the cedar frame so no grass or weeds will grow around the cardboard into the bed. A couple of layers of cardboard have worked well for us.
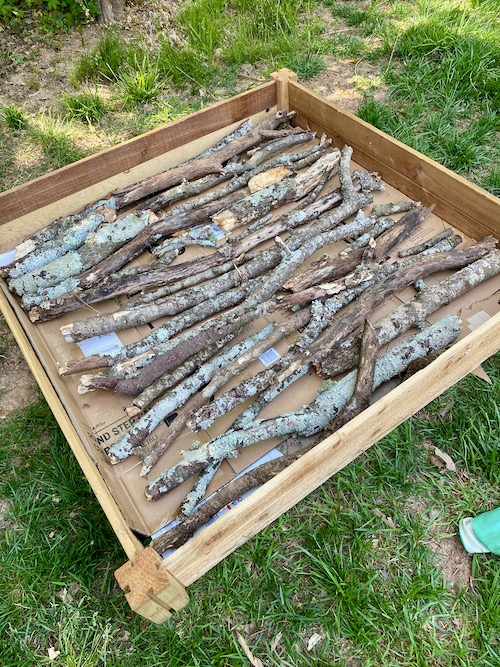
Lay in the branches and limbs next. Fill the space well as it will decompose over time. During the past year, we collected rotting tree limbs that had fallen from large Oak trees in our backyard. The first plan was to put them through the shredder and use them as mulch. Since we haven’t gotten to that job yet, we’ll use them as a base for our raised beds.
Add Decomposed Compost to Raised Beds
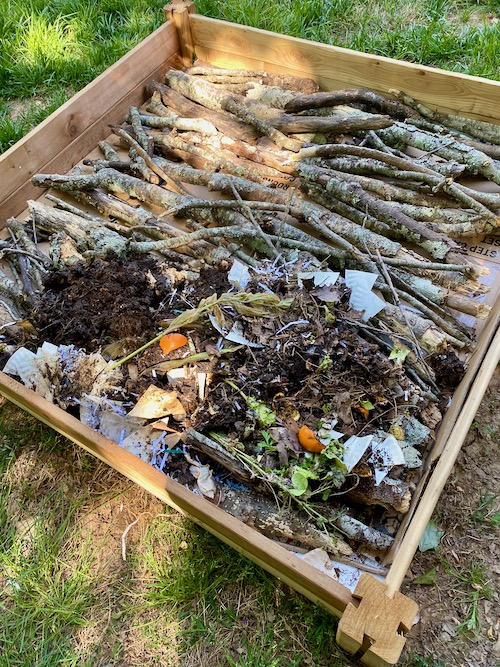
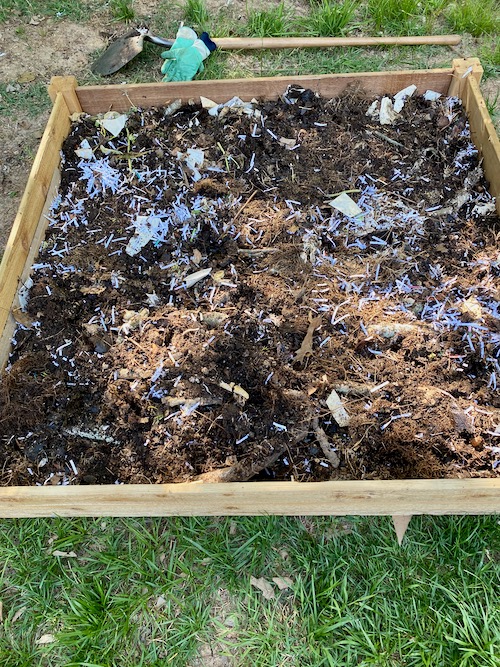
For this next stage of filling new raised beds, it’s best to plan ahead for a week or two and separate freshly added waste items from sections of your compost pile that are already partially decomposed or fully decomposed. Place the partially decomposed compost into the new raised bed, then add the more fully decomposed compost near the top. We limit our compost to shredded paper, cut-up uncoated paper plates, coffee grounds, vegetable and fruit peels. This pile is turned regularly and produces rich compost. We also have a second compost bin for yard waste. We have a massive amount of leaves each year and occasionally we’ll add collected grass after mowing.
Add Organic Garden Soil and Plant Veggies
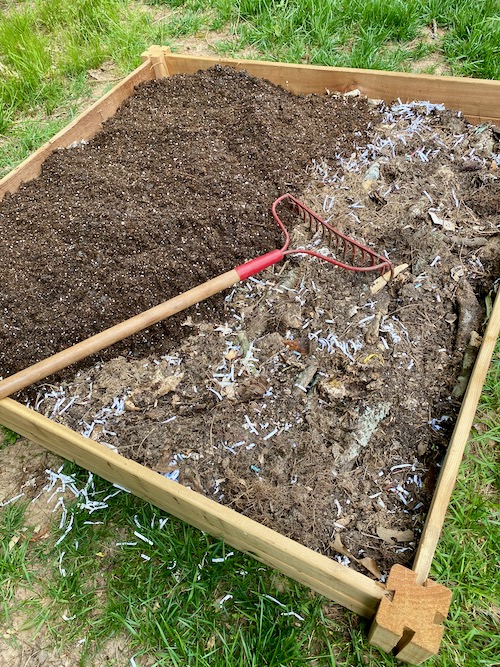
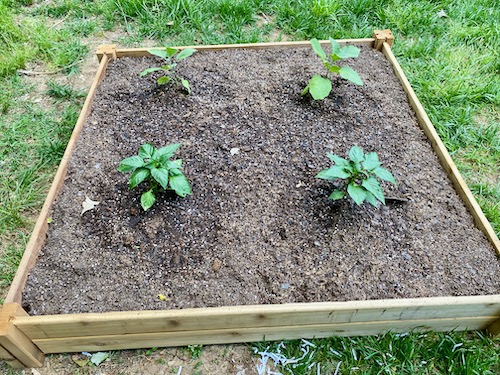
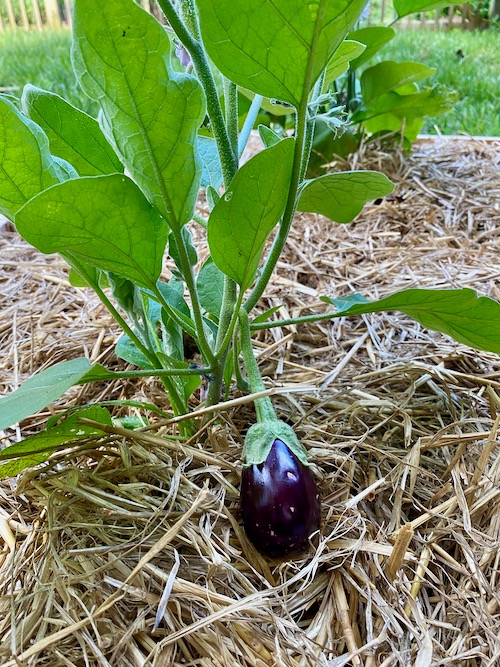
Fill the raised bed to the top with organic garden soil. It will settle over the next week or so, then just add more soil as needed. Next, but most important, plant the vegetables you love. We planted green peppers, and eggplant in this bed, with tomatoes, squash and cucumbers elsewhere.
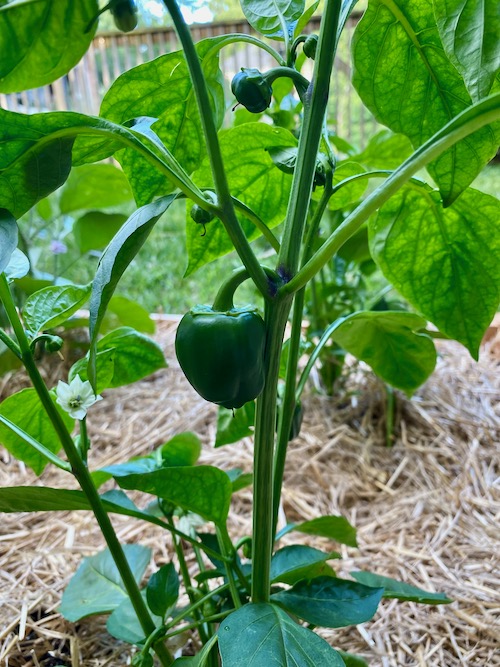
Make sure to add your choice of mulch to preserve soil moisture and help keep weeds under control. I already had straw on hand, so that’s what I used. Now, we wait. I’ll keep a close eye on our freshly planted veggies while looking forward to savoring that fresh from the garden taste…
…It has been a little over a month now and we have picked quite a few peppers, we ate several of them, and dehydrated the rest to use later. Eggplants are growing nicely and we’ll soon be enjoying Eggplant Parmigiana. And of course, we’re prepared to share with neighbors if we have too many ripe at the same time. Never waste a fresh, cleanly grown vegetable!
Leave a Reply