When our daughter was seven years old, we had lived in 5 different homes. Now, she was in elementary school and we had moved into our “long-time” home and were ready to put our mark on it. Her room was the first to receive this special attention. We decided together that we would use her favorite colors and paint stripes on a wall in her new room.
Since her room was quite large, this was going to be a big statement! So, we went about gathering sample paint chips, then later, small cans of paint to make sure those were truly her favorites and that the colors “played well together.” After paint decisions were made, we then agreed that the rest of the room was to be a surprise for her.
Steps For Painting Large, Colorful, Stripes On A Wall
Since I’ve never painted stripes on a 13-foot wall, I started by doing the necessary research on what’s the best way to create a lot of very straight lines. After deciding on the specific approach I was going to take, I was eager to get started.
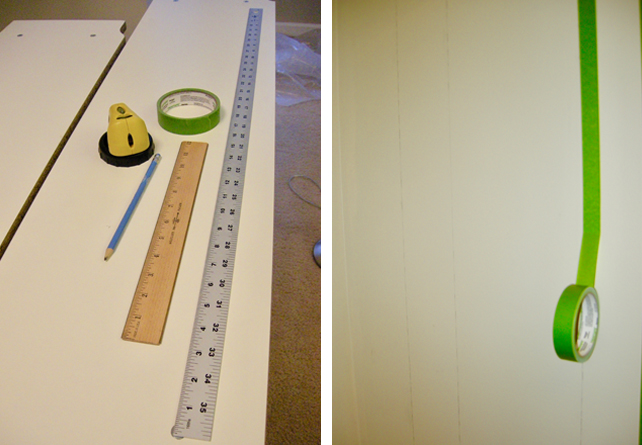
Tools To Paint Stripes On A Wall
The necessary tools for this job were a 12-inch ruler, a yardstick, good quality painter’s tape, sharp pencil, and a line laser tool that was purchased to make sure I don’t end up with a wall full of wavy lines!
Map Out Your Colors
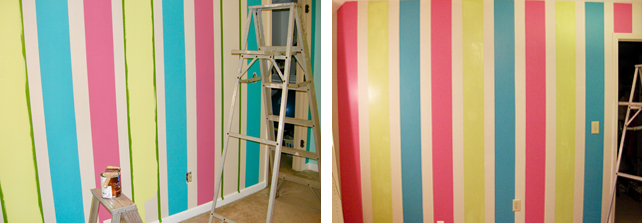
First, I decided how wide to make the colored stripes on the walI. We didn’t want a skinny, vibrating visual so our blue, pink, and green strips would be 8-inches wide with a 4-inch neutral strip between each color. Then, I mapped out the wall to determine where the color bands would start and in what order would they look best. I also had to work around a closet door on this wall.
Mark Perfectly Straight Lines
Next, I used a laser level to project a line down the wall that will be one edge of the painted stripe. Then using #3 lead, I lightly, yet clearly, penciled every stripe from ceiling to floor. The reason I marked it all so thoroughly was that it made it easier to place the tape exactly where it should be. There was no guessing if the tape was straight or not, I could see that it was. The pencil marked lines should barely be visible to you, not dark at all. Otherwise, you risk them showing through the paint later.
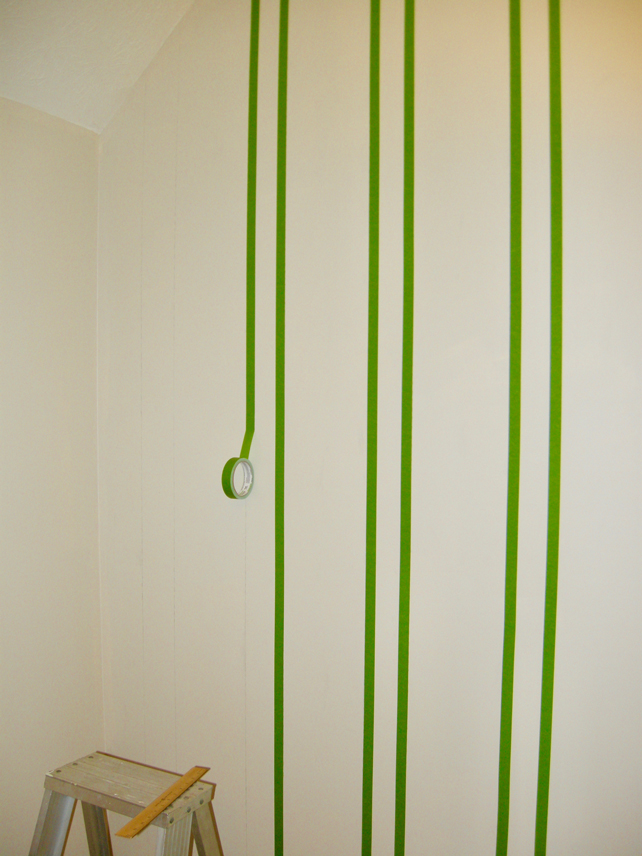
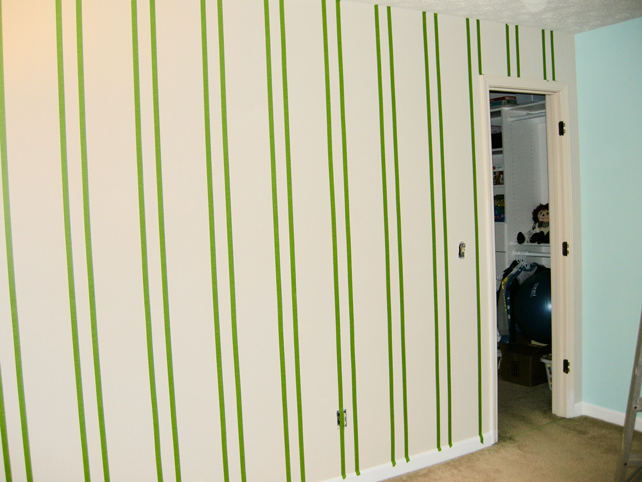
Note Each Stripe With Your Selected Color
I used a pencil to mark the paint color and neutral stripes in the center of each stripe. You can erase it later when you start painting. Since I was working so close to the wall I was afraid I would paint a color out of order. So, I marked the color on each strip to avoid having to repaint it!
Edge Each Stripe With Painters Tape
This step takes some time but it’s worth it to have a great paint job. I carefully applied the painter’s tape “outside of the stripe” from ceiling to floor following the line drawn with the laser tool.
It’s Time To Paint Stripes On The Wall
Now, it’s finally time to paint. I painted both edges of one stripe then filled in the middle. I repeated the process over and over and over until the wall was complete!!
Make sure to leave the tape on until the paint is totally dry otherwise it can smear. Now all that’s left to do is remove the painters tape, touch up if necessary, and put the furniture back in place.
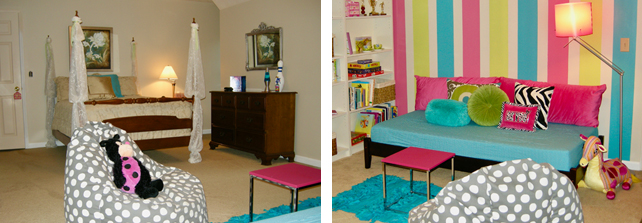
Here is the completed room put back together. One area is the sleeping area, and the other serves for reading and playing games with friends. We added a new daybed, pillows, table, lamp, rug, and Bean Bag chair to the room. Nothing in the sleeping area is new, the bed and dresser were mine from middle school. That furniture has lasted a while!
Our daughter has enjoyed her new room and spent many hours there with friends having fun and making memories. Hopefully, the colorful, striped wall contributed to the good times.
Leave a Reply