One Day Until Demo Day!
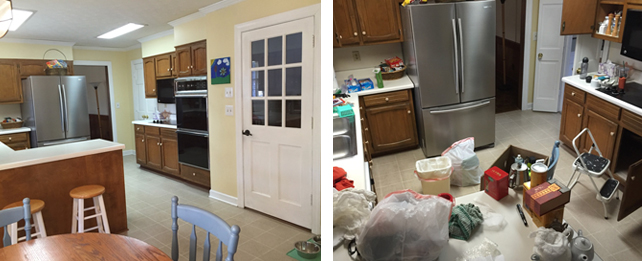
There are big changes coming! We have been preparing for a major kitchen renovation for a long time. It’s now time to pack up our 1980’s kitchen and get out of the way. We plan to be without a functioning kitchen for 8 to 9 weeks! Not looking forward to that part but we are looking forward to the new kitchen.
Soon, I was overwhelmed at how much stuff can fit into a small kitchen. It seems like a treasure hunt; who knew I had that many teapots! As I packed, I set aside what we’ll need in our temporary kitchen in the master bedroom. That list includes dishes, flatware, paper plates/napkins, cleaning supplies, healthy snacks. We’ll also need the microwave and Breville oven, mini fridge, small table, and chairs. Living in a much smaller space will test of just how well our family can get along!

Yes, It’s Finally Demo Day!
Our kitchen demolition was quite a bit different from those portrayed on TV. Very little drama here, 100% calculated piece-by-piece dismantling of an entire kitchen in the matter of a few hours. No sledgehammer, no kicking or punching out drywall. It was a methodical deconstruction of countertops, cabinets, soffit, and flooring until there was no more kitchen, just space for a new one.
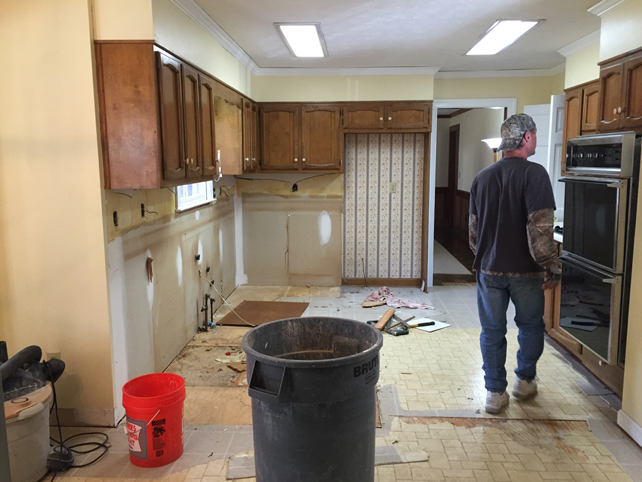
Demo is underway. Base cabinets on the window side of the kitchen were removed first. Next they moved the “new” refrigerator to safer territory, then disconnected and disposed of all remaining appliances.
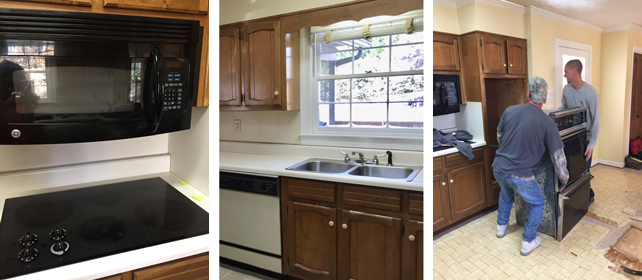
If your are planning to renovate, check out donating at Habitat for Humanity Restore
I hate to see anything that can be reused go into the landfill. So, I contacted Habitat for Humanity to see if their local Restore would take any or all of what we had available. We were excited to learn they could accept the sink, faucets, glass cooktop, and fan/microwave combination. Unfortunately, the dishwasher and double ovens were too old. We set the appointment for pick up, Habitat for Humanity arrived on time, loaded up the items to be donated, and provided a receipt for a possible income tax deduction.
The following Habitat for Humanity link takes you to a page detailing 8 types of construction waste that can be donated.
Click here to learn about “Eight things to donate when renovating.”
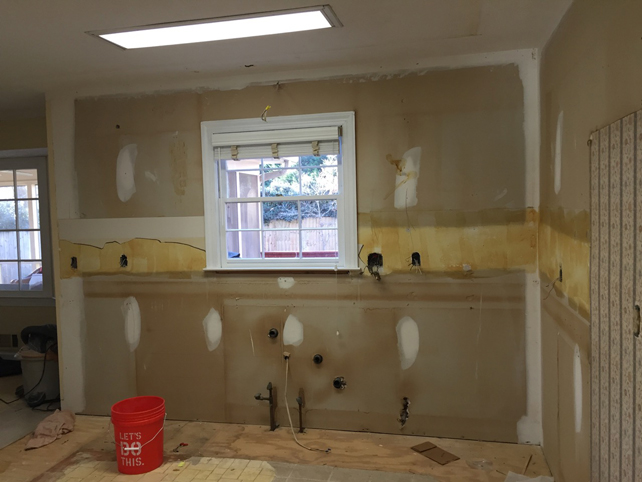
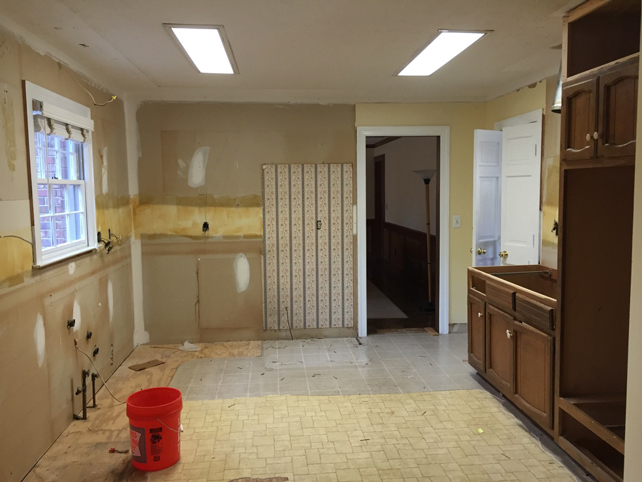
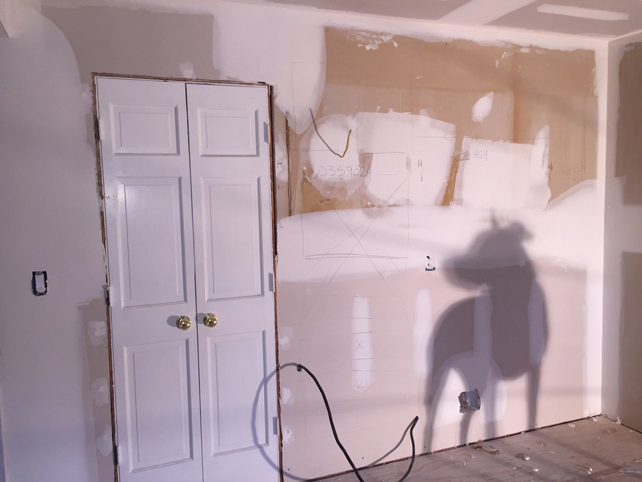
Once all of the appliances and cabinets were removed, the drywall was pulled off in order to accommodate new plumbing and electrical service. Next step is to remove the linoleum.
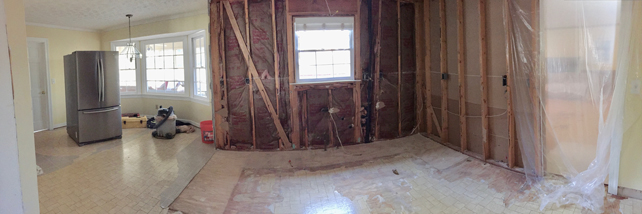
Our First Construction Surprise
The linoleum came up easily, however, the crew was surprised to see a second layer stubbornly resisting their removal tools. Since it was near the end of the workday they decided to call it a day and try again in the morning. That evening I did some research as to the best way to remove old vinyl flooring. Unfortunately, I discovered that it was possible that the age of the vinyl flooring and difficulty in removing it could indicate the presence of asbestos.
A Little Asbestos History
Apparently, asbestos in linoleum was “banned” in the 1970’s but manufacturers were allowed to go ahead and sell and install their remaining inventory. That doesn’t seem like much of a ban to me!! The product in question consists of a layer of linoleum with an attached bottom layer of brown paper. The asbestos is in the paper. Well, that sounds a lot like what is in our kitchen. The kitchen was built in 1983, so it’s possible we have asbestos.
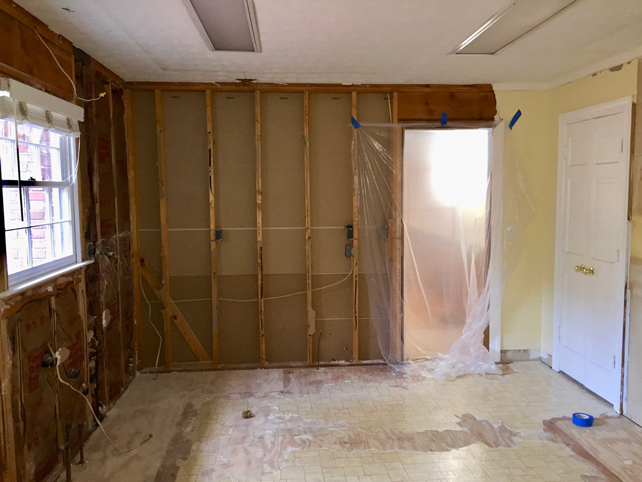
The construction company’s project manager on our job immediately scheduled an environmental inspection and product lab test. After viewing the linoleum and taking a sample he said it “looked suspect.” So, we’ll know soon if it is or if it isn’t. It’s been an exciting and productive day one of demo. I hope we can move forward soon.
Day #2: Demo Continues By Removing Old Flooring
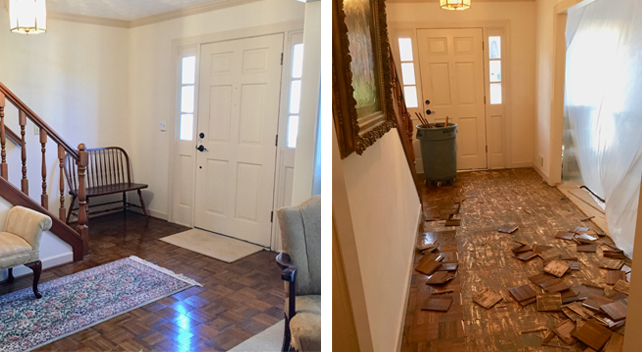
Since work cannot continue in the kitchen until the asbestos situation is resolved, today’s focus is to remove the parquet floor in the family room, and entry hall. As part of the kitchen remodel we are also adding hardwood floors in the kitchen and adjoining rooms. Our 1980’s house follows the style of the times when there would be 3 or 4 different types of flooring on one level! We had 4, including linoleum, ceramic tile, parquet, and carpet.

While removing the flooring there was concern that particleboard could be under some of the parquet flooring. If that’s true, it must be in excellent condition or it has to be replaced. Later that day, the installation manager inspected the sub-flooring and gave his approval to proceed. (Deep sigh of relief!)
Day #3: We Get The News, is it Asbestos or not?
Nothing happened today in the kitchen, but we got good news that there is no asbestos in our flooring sample. We lost a day and a half and the test cost us $150.00, but we know for sure it is safe to be in the house. So, it was worth it. Back to work tomorrow!
The kitchen demolition and renovation process is fascinating! The before-and-after pictures tell a story of dedication and hard work. The choice of materials and colors creates a modern, inviting space. Well-done transformation!
Thank you so much for your kind comments. Our family has really enjoyed the renovated, opened up space. It was worth the disruption and the mess!