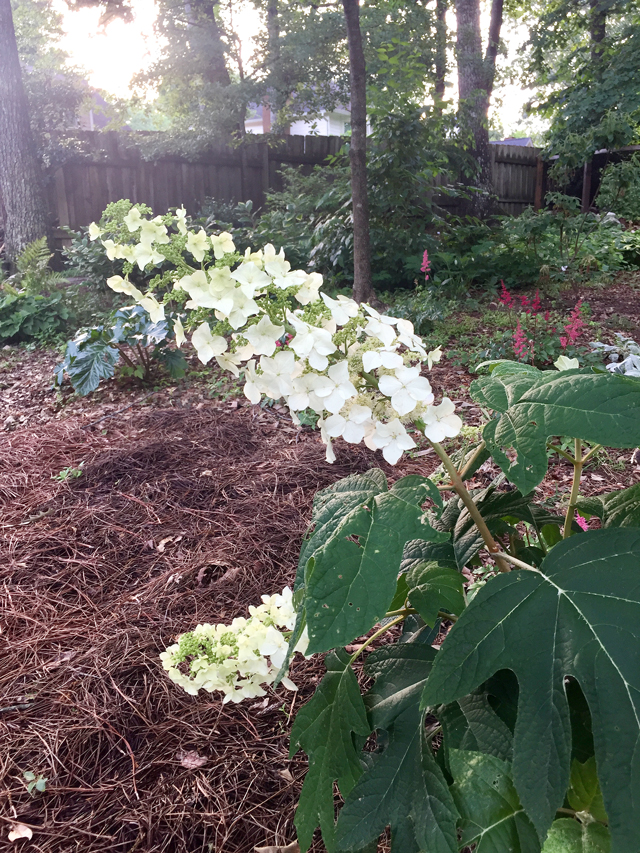
My woodland garden, like most gardens, is a work in progress. It seems that I’m continually dividing and moving plants, adding new varieties, and clearing spent blooms and dried leaves. Often I’ll just go there to walk around, relax, and observe the latest changes. Our family has managed the past 2 months “sheltering in place” quite well. But, at this point, a calm, quiet place to get lost in our thoughts sounds pretty good to all of us. So, we’re building a flagstone garden retreat in our woodland garden. We’re calling it our “Corner Of Solitude” and it will be the perfect area to place our recently restored heirloom iron bench.
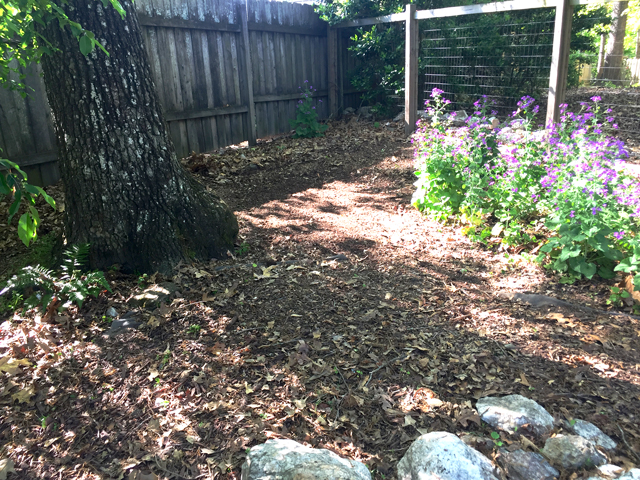
There’s not much design work to do on this project, this job is much more about physical labor. Selecting, loading, and unloading the stone as well as putting it in place is definitely a workout. Since the sitting area we’re planning is a relatively small space, we’re going to attempt to complete it ourselves. Ideally, it will be just large enough to accommodate our newly restored bench, and possibly a small table or planter.
Selecting Flagstone For The Corner Of Solitude
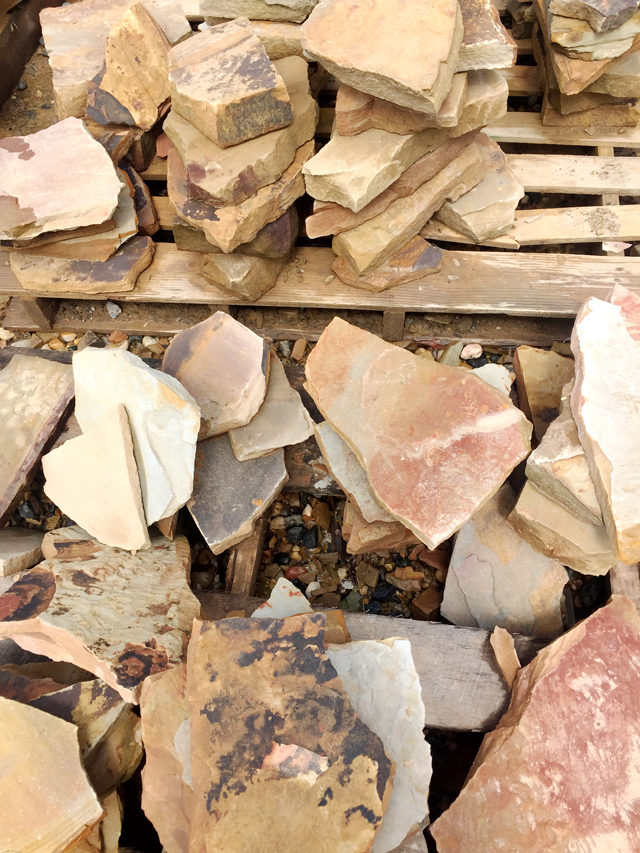
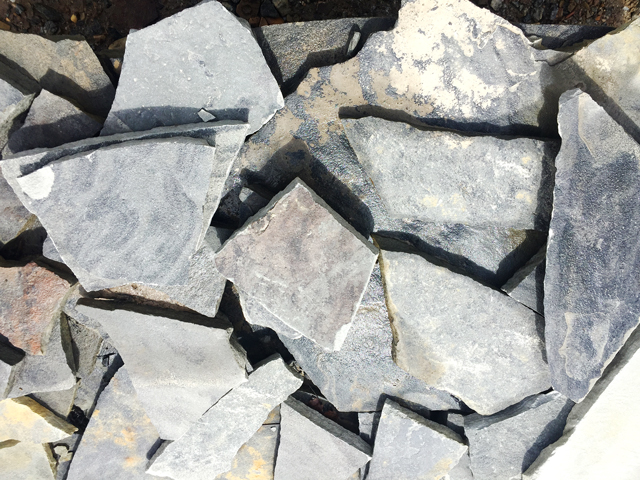
I selected the flagstone from our local stone yard. Since I didn’t need a truckload, I used their “pick pile,” which is odds and ends of various colors, sizes, and depths of stone that they sell. Since I am building a small sitting area, I thought that would be perfect. The flagstone “pick pile” is sold by the pound and was reasonably priced. I liked both the brown and gray so, I called my husband to break the tie, and we decided on the gray-toned flagstone. I loaded my guesstimated amount of flagstone into the wheelbarrow nearby. Then, the staff took the wheelbarrow and weighed it to determine the total price. I paid for my purchase while they loaded it into the back of our SUV. Pretty easy so far…
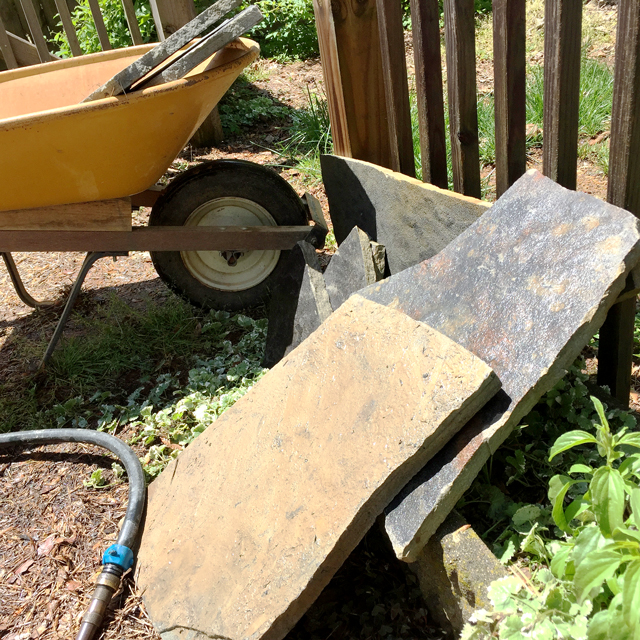
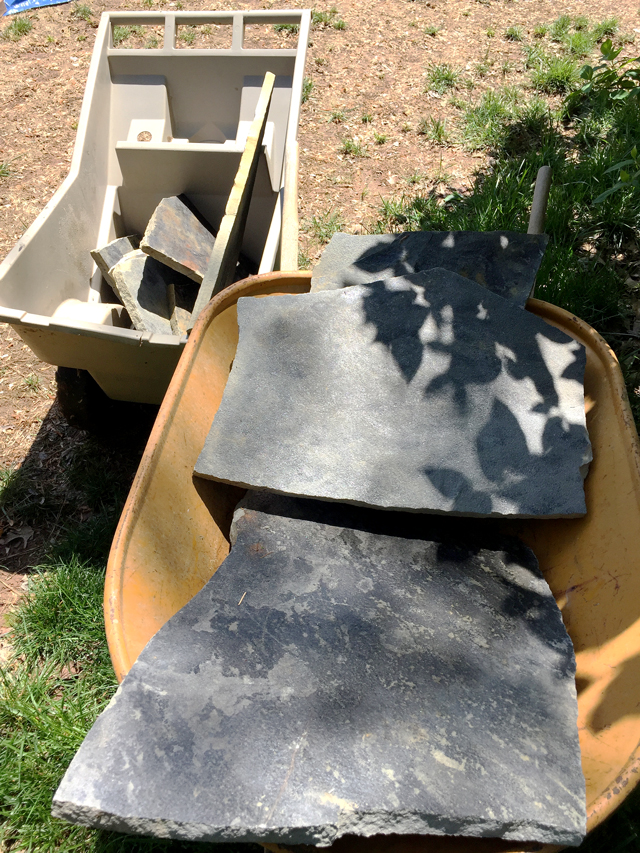
Once I got the flagstone home, I did my weight workout for the day and unloaded the stones into the driveway and washed the mud off of them. Yep, those larger pieces are pretty heavy. I loaded the rinsed flagstone into our wheelbarrows and hauled them out to our woodland garden where they would soon, not today, be part of our special corner. Then I had to go sit down and rest!
Removing Soil To Prepare The Flagstone Base
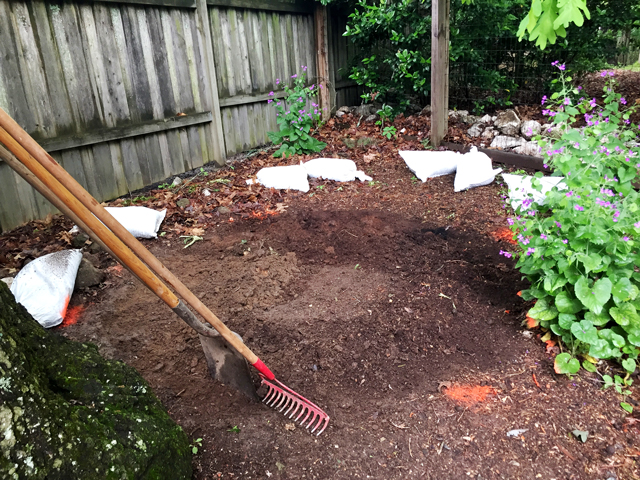
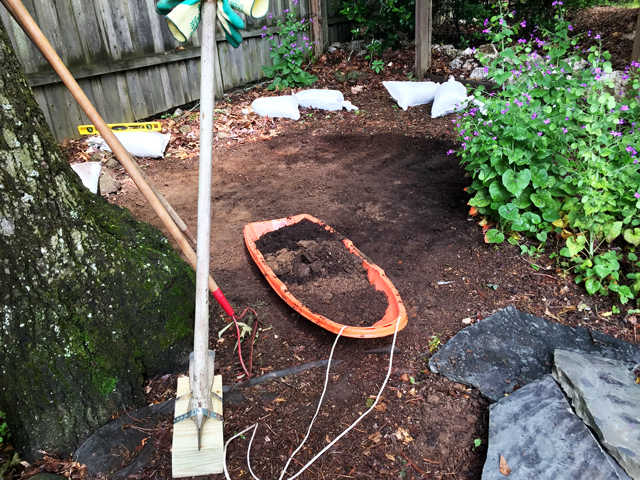
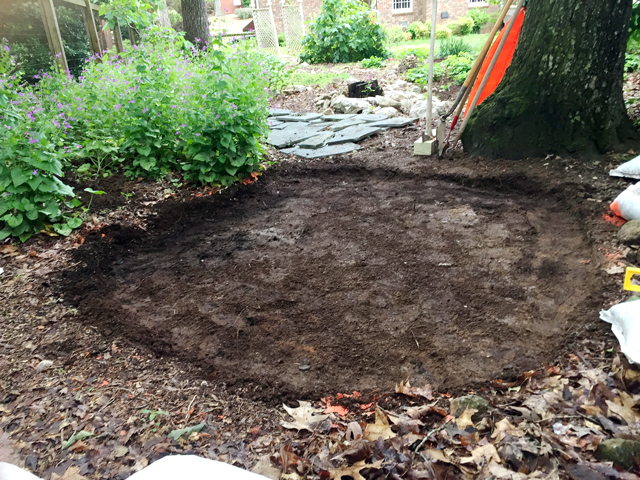
We’re building our flagstone garden retreat in an area composed of 40 years of decomposed leaves, branches, pine cones, etc. The dark, organic soil is excellent for amending the garden but not the best base for a flagstone patio. Therefore, I dug out about three to four inches of soil to reach our ever-present Georgia clay. Then, I used my much loved and well worn, “garden sled” to move the rich soil to other areas in the garden. My plants will love that.
Being Innovative and Economical At Home
You may have noticed our homemade “tamper” in the foreground. This innovative tool consists of an antique mattock, a leftover 4” X 4” block of wood, screws, and galvanized steel strapping holding it tightly together. It worked great and, it cost nothing, thanks to my creative husband!
Laying The Crusher Run Base For The Flagstone
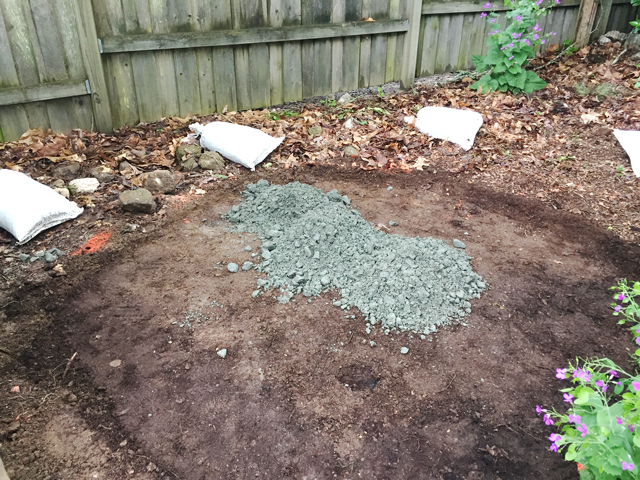
The next step in building a flagstone garden retreat was to prepare the area for the flagstone. As I said, it’s a small area in the back corner of our woodland garden and will be approximately 8’ by 8’. In order to compact the soil I tamped down the clay to prepare to lay the crushed stone base. I gave the area a slight elevation pitch to assure the rainwater would not pool under the stone.
On a trip to our local stone yard, the guys shoveled the Crusher Run base into woven, drawstring bags, then graciously loaded it into our SUV. Unfortunately, they did not follow me home and unload it for me! Another excellent upper and lower body workout occurred as I hauled the Crusher Run to the very back corner of our lot.
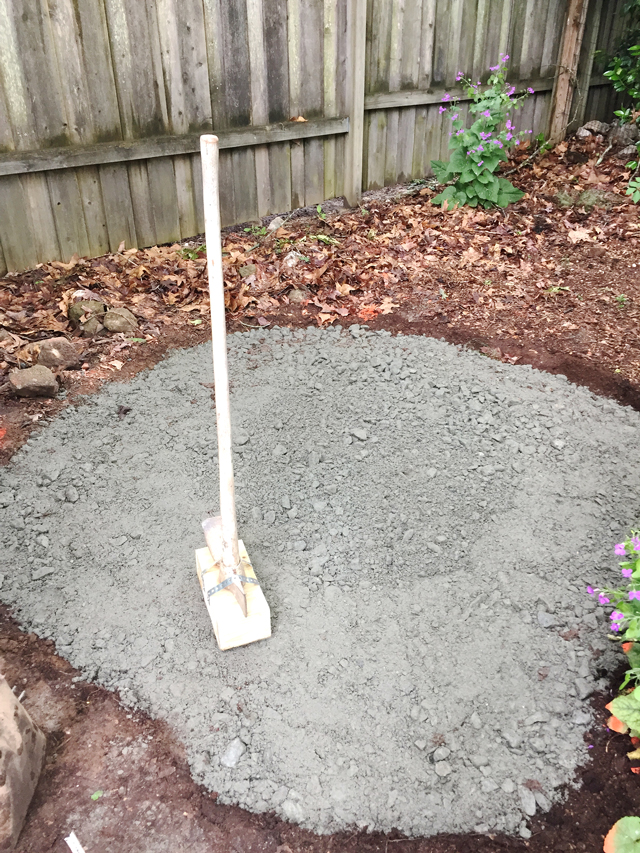

This is where our homemade tamper comes into play. We’re using it to press the Crusher Run into a solid base that will support the heavy flagstone. After strategically dumping the Crusher Run in the area, I raked it evenly over the entire area. Then, I started my favorite Classic Rock music and began tamping down the crushed stone into as solid a base as my biceps and triceps would manage.
Using Leveling Sand To Lay The Flagstone
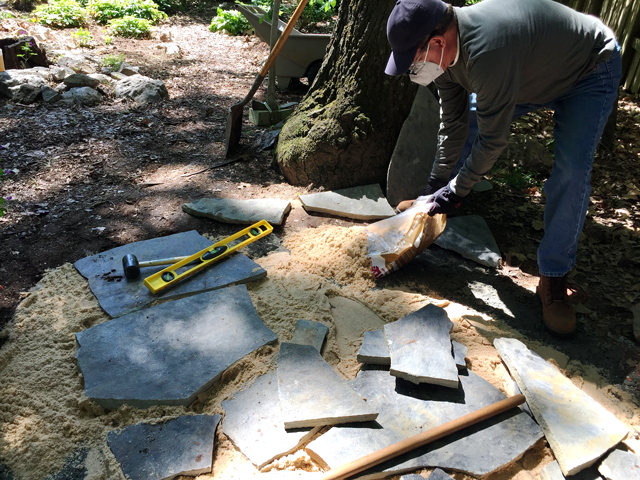
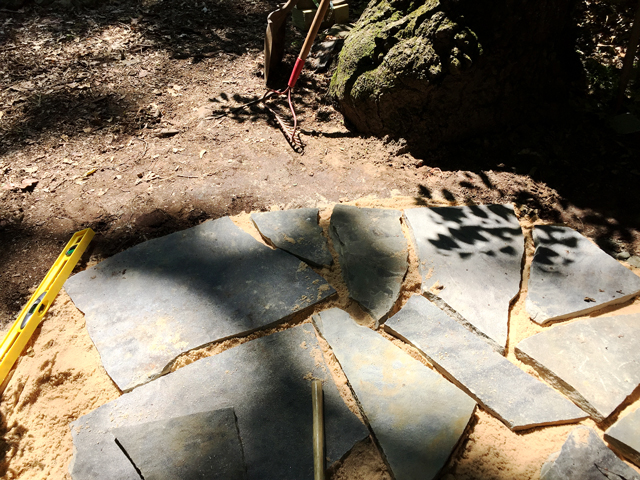
Laying Sand And Leveling Flagstones
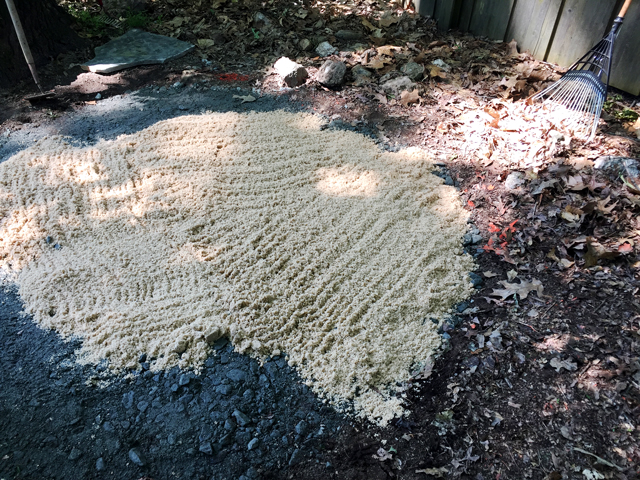
I spread out the Crusher Run base over the circular for our sitting area. Next, my research directs me “to spread about an inch of the leveling sand evenly over the tamped Crusher Run then lay the flagstone.” Sounds easy doesn’t it; however, I found this last step to be the toughest part of the project.
As a non-professional flagstone layer, placing the flagstones was a lot trickier than I expected. It required lifting and flipping stones as well as mixing and matching to make it fit. Ultimately I had to use my small sledgehammer to make it all work together. Please note: as a novice, hitting flagstone with a hammer is like tossing dice; you’re not sure what the outcome will be! However, it will definitely make the slab of flagstone smaller!
I do understand the larger stones should be on the outside of the circle to help prevent movement of the smaller ones inside. I also appreciate this ideal approach for structural support, consistency, and a balanced aesthetic. However, after investing many hours on the project, I was becoming a lot less picky about precise spacing between the stones and whether or not there was a small stone toward the edge. Time to stop for the day.
New Flagstone Corner Is Finished
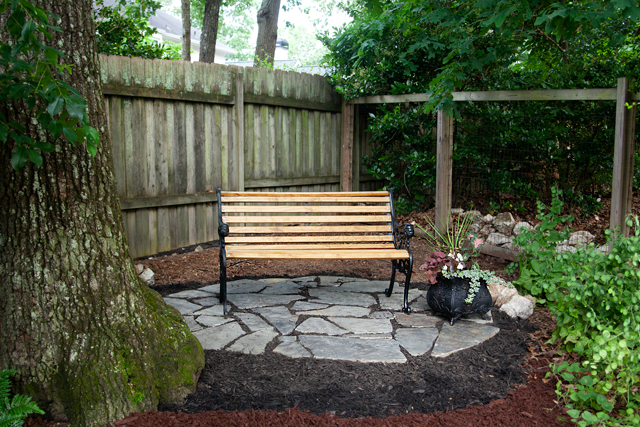
I woke with a good night’s sleep behind me and a renewed “gung ho” attitude. I worked for the next three hours setting flagstone to get to the half way mark. Yes, it takes a lot longer than you might expect to find the right piece of flagstone, fit it with other miscellaneous pieces of flagstone, so that in the end each piece is 2”-4” inches apart! It was also necessary to keep the flagstones as level with the other stones as possible to avoid tripping but also allow for drainage. Phew! This job was a time investment. It’s certainly not perfect, but I think it will make a nice home for our heirloom iron bench and flowerpot. Most importantly, it provides a calming view of our woodland garden and is a perfect place to enjoy a bit of solitude.
Wow! That is so beautiful and inviting. I love the new flagstone base and restored bench.
Thanks, it has already been a nice relaxing place to spend a few minutes.
Looks so inviting. All you need is a book and some iced tea. Great job.
Thanks, I’m looking forward to spending time out there. As soon as it stops raining!