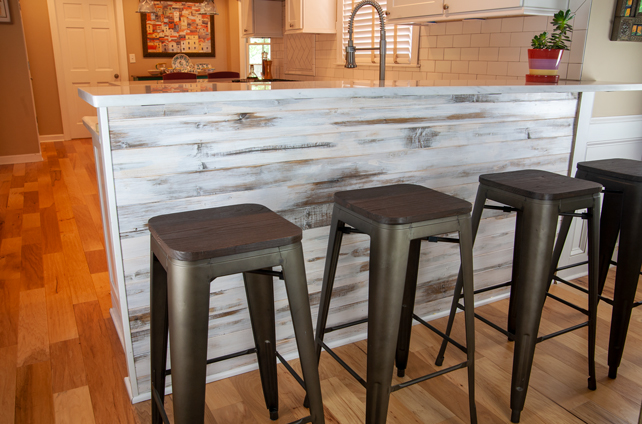
Here’s an easy and fast do-it-yourself way to distress low cost wood planks. If you’re a regular reader of our blog, you probably know we’ve completely renovated our kitchen. During that process, we removed a wall (to see the post click here) to open up the kitchen to the family room. Then we added counters with bar stools on either side of the kitchen. I used a very simple distressed wood finish on the planks that line the walls below the counters. The combination of walnut stain and white paint give it a great weathered wood look.
First, we found light colored, soft wood planks that would accept the stain base. We wanted a casual feel in this living, eating and playing space. Since the distressed look is a current trend I researched costs and processes of getting that aged look. Authentic barn wood, although gorgeous, was a budget breaker, especially on top of what we had just spent to update the kitchen. So, we decided to tackle this DIY wood distressing project ourselves.
Choosing The Wood For The Job
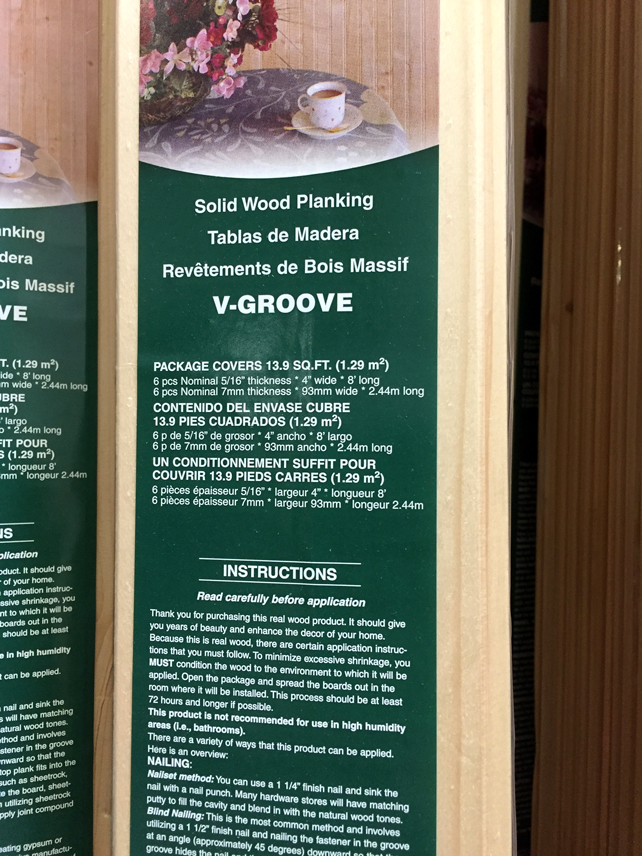
We found economical unfinished V-groove wood planking from a box store. The package of six planks covers approximately 14 square feet and costs less then $20.00. The type of “real” wood, possibly pine or fir, was not disclosed but it is light in color, has a muted grain pattern, with small knots throughout. The wood is also soft enough to absorb stain.
Unfinished Bar Front

We started this wood distressing process on the laundry/porch side of the kitchen. This bar is a little over six feet long and seats four comfortably. Click here to get a better look at the “before and after” kitchen layout.
Sampling Paint And Stain
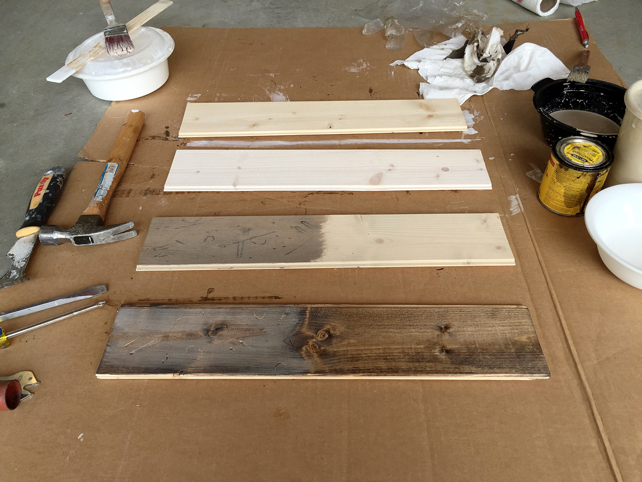
First, I cut one plank into pieces so I could test the density of the stain and the coverage of the paint. I wanted the two bar walls to be different so I chose to make the laundry/porch bar the more subtle finish.
Adding Stain And Paint On Planks
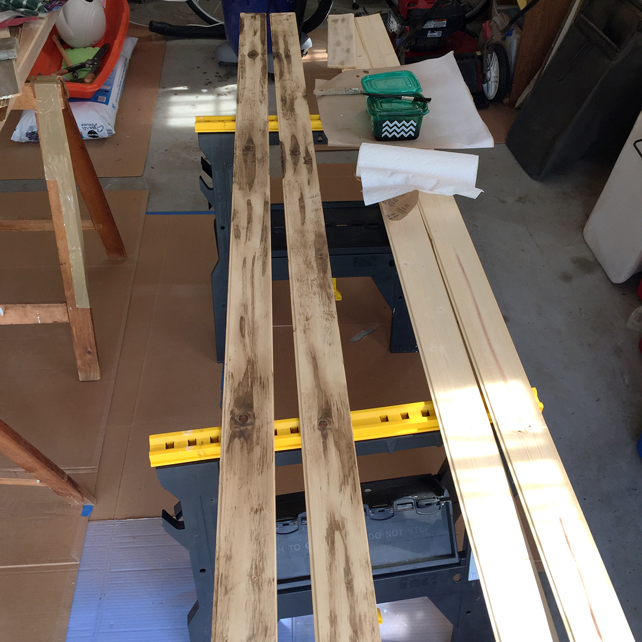
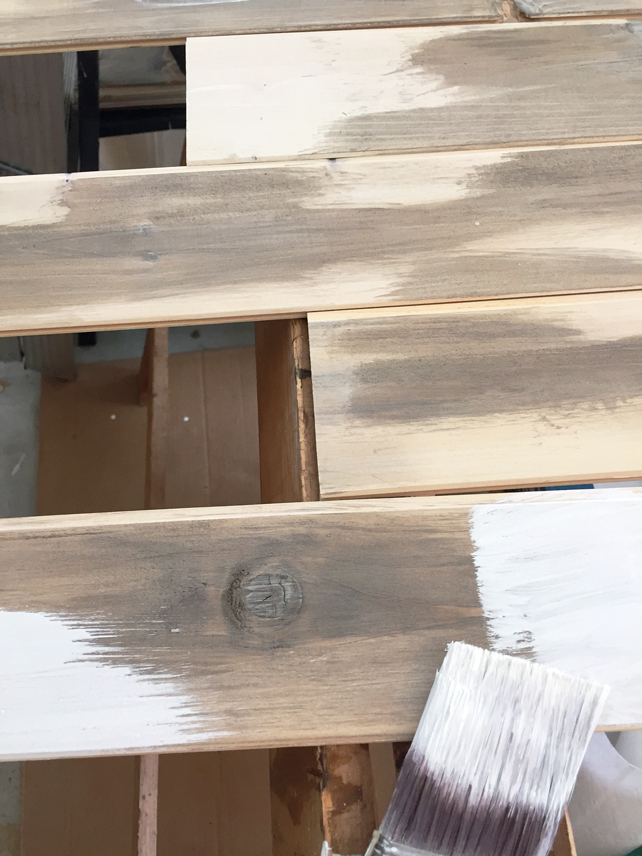
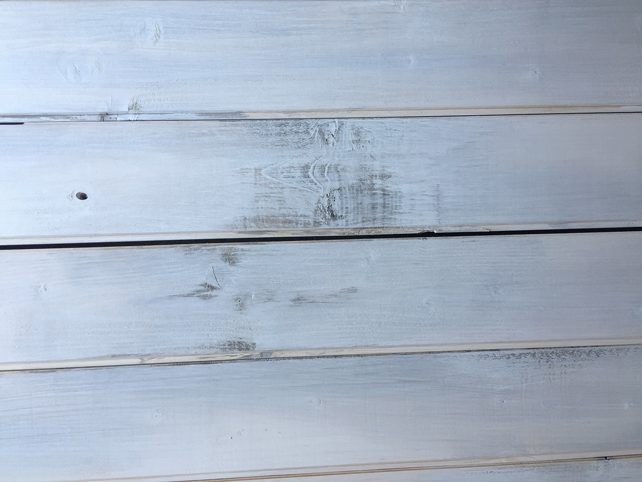
I carefully brushed the stain on the boards, focusing on the features in the wood such as prominent grain or knots. Then, I added a light coat of white paint over the entire board. Once the paint was completely dry, I gently sanded the areas where the interesting grain or knots were located. The overall effect of the lightly distressed wood blended well in that busy area of the kitchen.
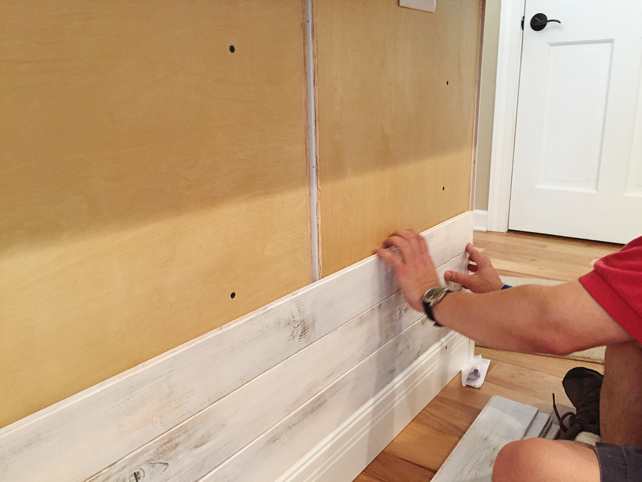
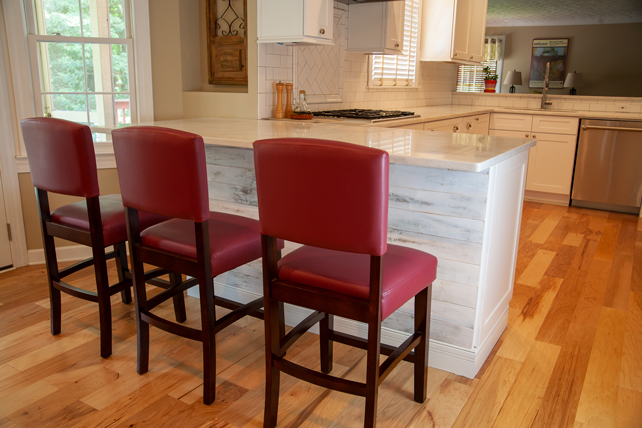
Once the boards where completely dry, my husband installed them on the first bar while I went to work to prepare the boards for the tall bar on the family room side of the kitchen.
Staining Planks For Family Room
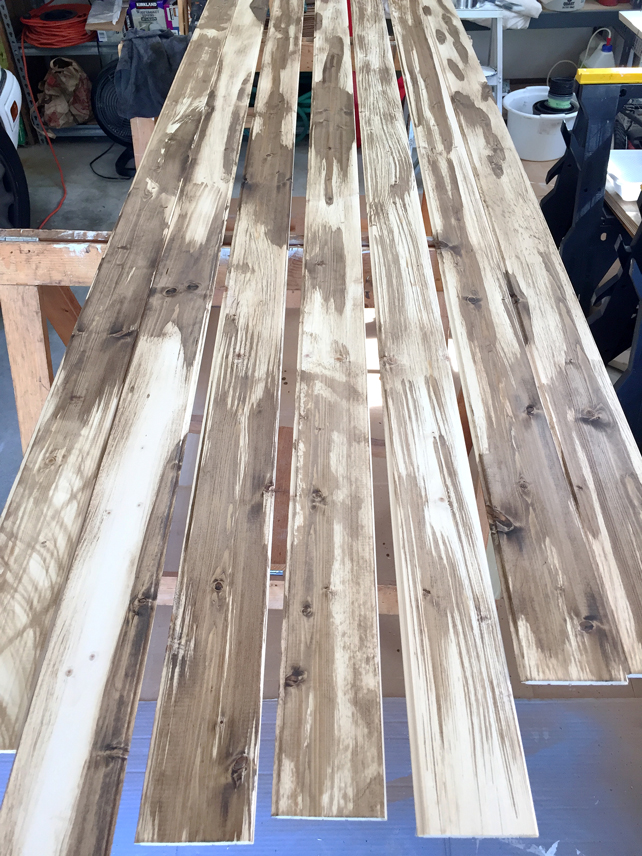
Now that I had a fast, do-it-yourself way to distress wood planks, I decided that the other bar would be a bit more rustic. So, I started adding the stain to the boards, this time heavier and much darker in random spots.
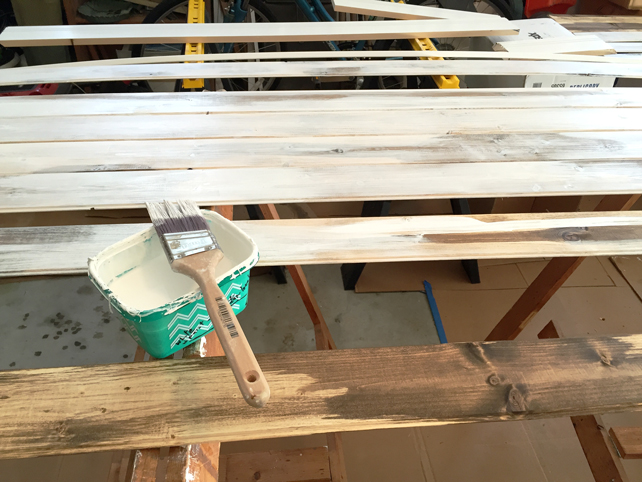
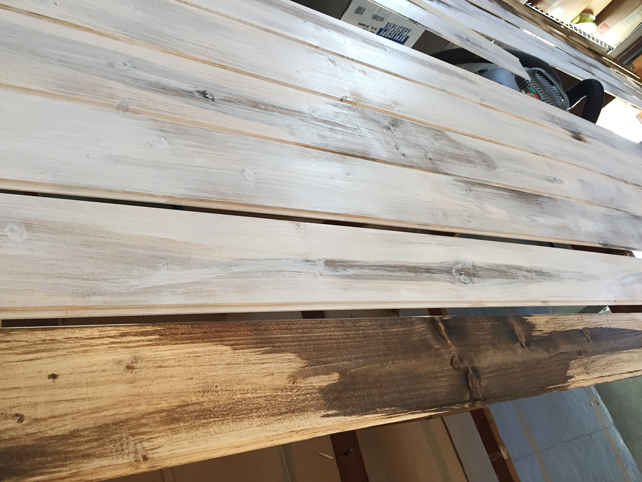
Next, I added the slightly diluted white paint over the dark stain. The last step, once the paint was completely dry, was to lightly sand over the darker areas to reveal the grain of the wood, knots, or other interesting marks. The family room bar front was left a bit more “distressed” than the breakfast/porch bar front. One good thing about this rustic wall is that if someone happens to mark the wall with the sole of a shoe, it’s really not even noticeable! This area is a very casual family room used for relaxing, movie watching, board games, video games, etc. The more comfortable, the better.
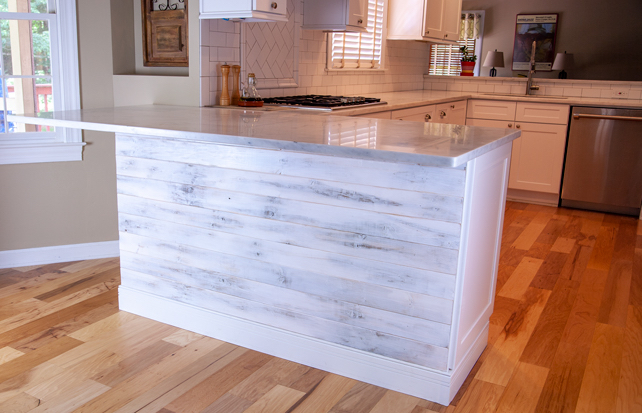
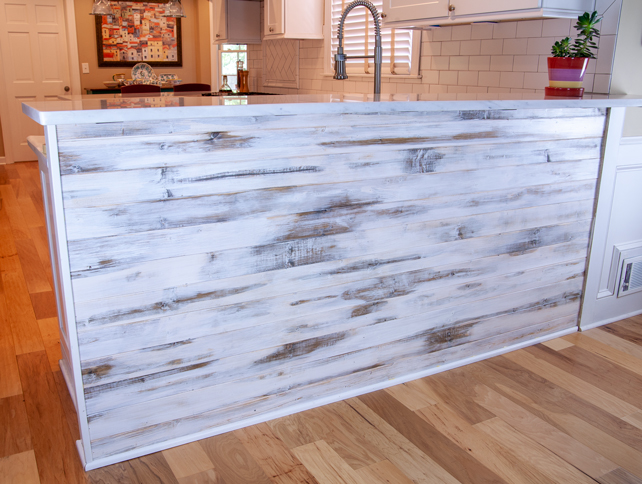
Here is the final product of a little bit of walnut stain and a partial can of satin white paint on unfinished planks of V-grooved boards. It was an easy and fast low-cost solution for both bar fronts. It works fine for now, but if we ever want a different look, we won’t have to think twice about it since we haven’t made a significant investment in this project.
Feel free to leave your comments or questions about this project. I always enjoy hearing from our readers.
I have a new house …in the den there is a wall that’s the old planks from the original homes walls. But someone had painted those beautiful boards white. I want to get a distressed or weathered look on there. So what should I do to achieve this look ?
Good question, but the answer is a little tricky. My experience in distressing wood is not extensive but my approach would be first to see what’s under the paint. Use some non-toxic paint stripper or lightly sand an area to see what look is created. If the woodgrain that is revealed is attractive to you, make a judgment as to how far to go with the stripper and or sandpaper. If the paint that remains after using the stripper is still too white you could dilute some darker paint to apply, then wipe to dull or tone down the white. Best of luck with your project. Big challenges can result is big wins!