During the Pandemic many of us experienced “first times” quite a few times. Everything was different, especially our daily routine of working and attending school from home. Even if you were used to working from home, it was different because everyone else was home too! “Home” was redefined as it became the hair salon…my teenage daughter cut her own hair for the first time! It was the gym, thank goodness for online yoga. We even attended Church at home, no more eating out meant trying new recipes at home. We even found ourselves watching the occasional game show…together!
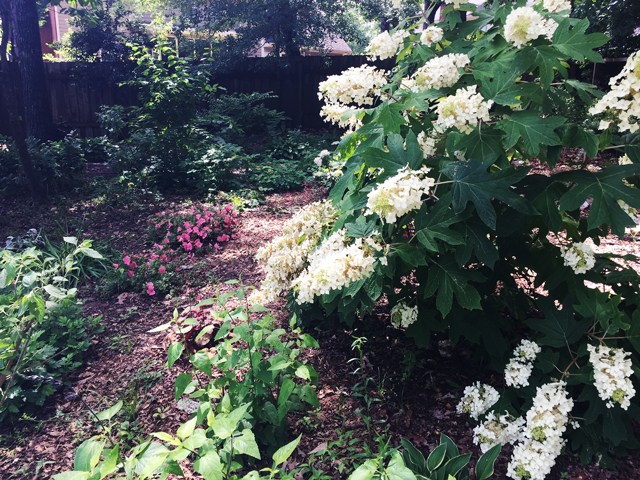
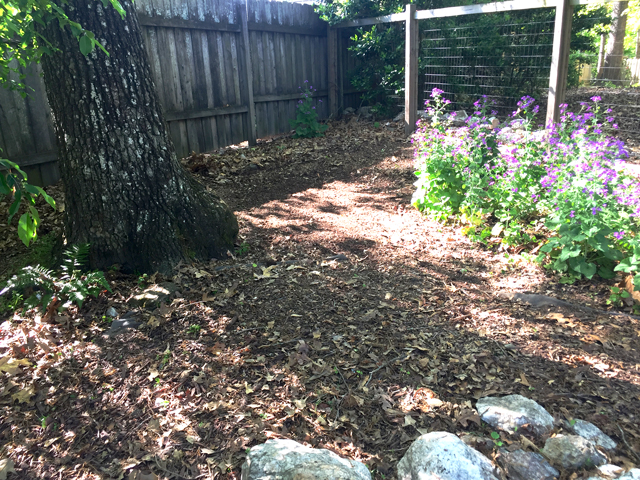
We are very grateful for our home, and as comfortable as it is, during the pandemic we were starting to feel just a bit too together. Sometimes you just need a “spot” to go and be in your own thoughts for a while. Or, a place to work through a puzzling project, focus on something you’re reading, pray, or just listen to the birds and watch the squirrels chase each other. A place just like our backyard woodland garden! But first, we need to restore our iron garden bench. Then, we’ll need a secluded flagstone sitting area on which to set the bench. So, now we have our next two projects!
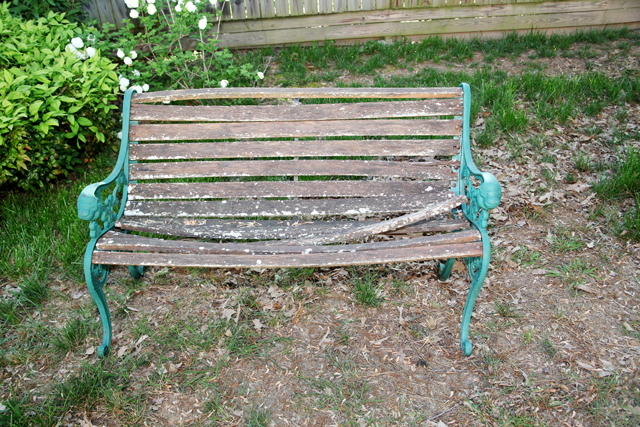
Restoring An Heirloom Cast Iron Garden Bench
We begin this 2-stage project by restoring the iron garden bench. Many years ago this classic iron bench was a gift to me from my Dad. It has always gotten a lot of use and is currently in bad shape. So bad that it’s probably not very safe to sit on even though we still do…carefully. That’s about to change as it’s getting a makeover and a new location. It’s going to be the shining star of our Woodland Garden.
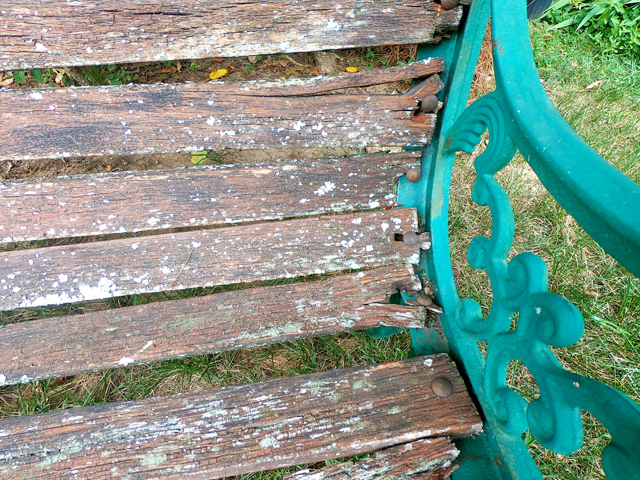
Removing Rotted Wood From Our Garden Bench
As you can see, all of the wood slats on our bench are in very bad condition.
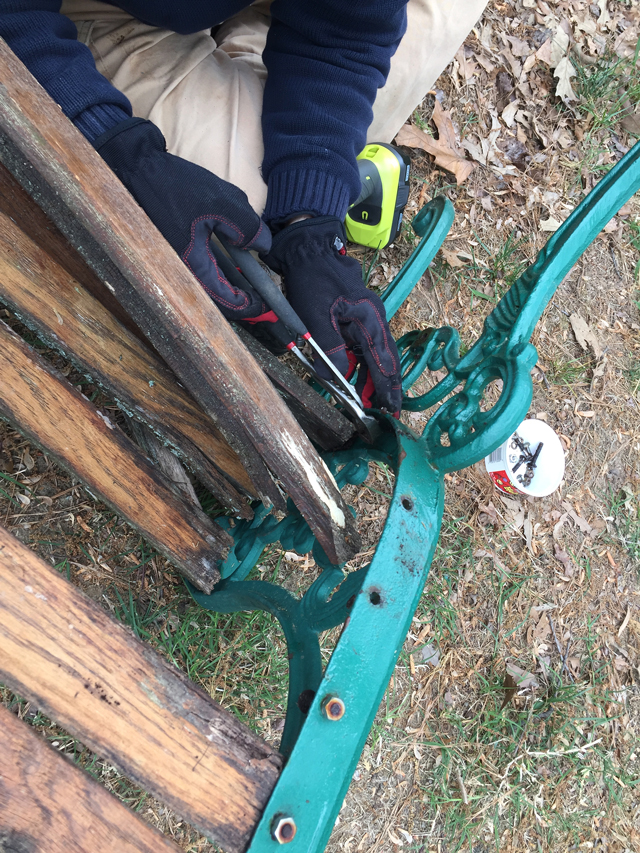
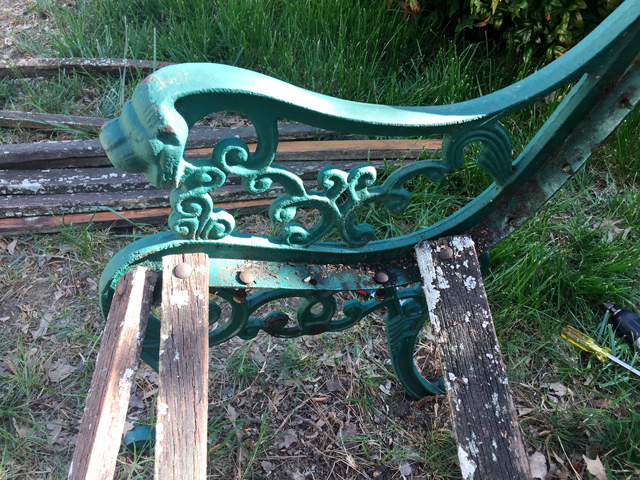
Every board had to come off the frame. Quite a few of the slats either fell off or easily pulled off the bench. However, several boards on the back of the seat were securely bolted in place. In order to remove these slats, the bolts needed to be removed.
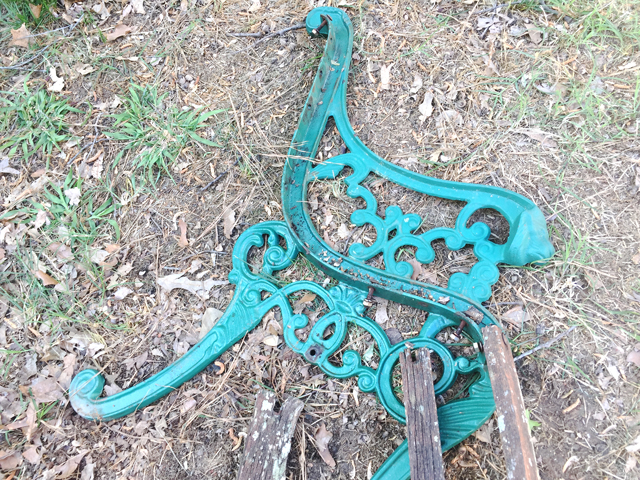
We were hoping that a generous application of WD40 would loosen the rusted bolts enough to release them. That plan worked well and the remaining the bolts, nuts, and washers were removed from the bench.
Sanding And Painting The Iron Frame
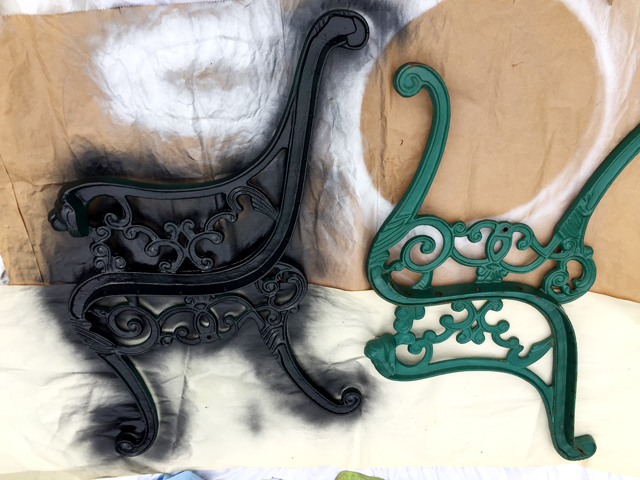
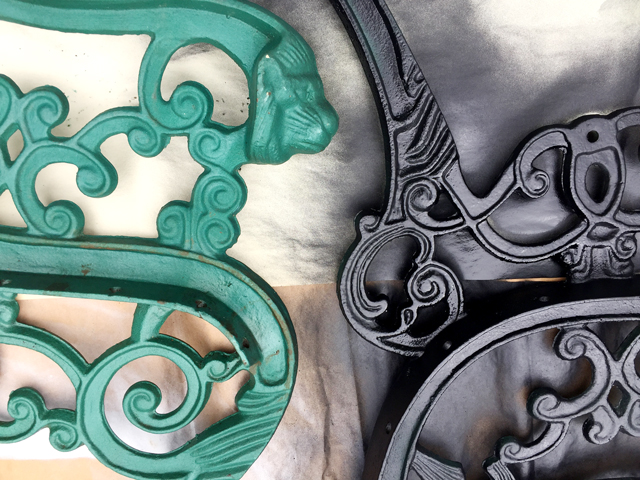
The bench, at this point is completely disassembled. There are two pieces of iron frame and a pile of mostly rotten wood. I’m definitely keeping the wood as it could become a rustic background for a piece of garden art, like the way we used our old shutters, on our screened porch. In spite of its age, the bench’s iron frame was in very good condition. There were only a couple of rust spots that required sanding. Then, after a good cleaning I spray-painted it with an Interior/Exterior Black Flat Enamel spray paint.
Preparing Wood For The Bench
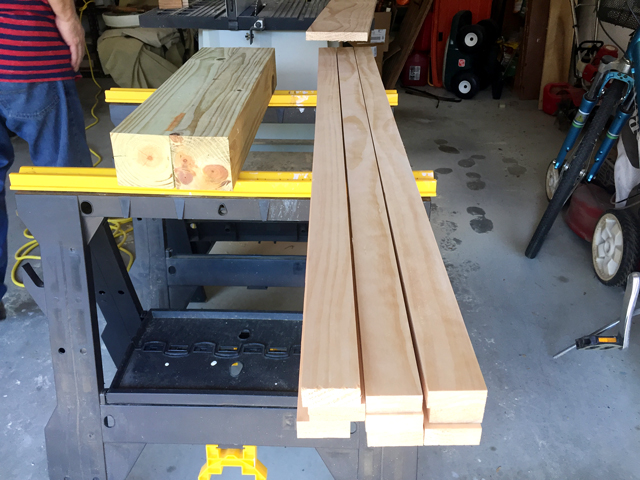
We chose a light colored, untreated European Pine for the bench seat. We purchased 6-inch wide wood planks and had them precut to the length we needed. Then we cut each board into three 2-inch slats to be used for the bench seat and back.
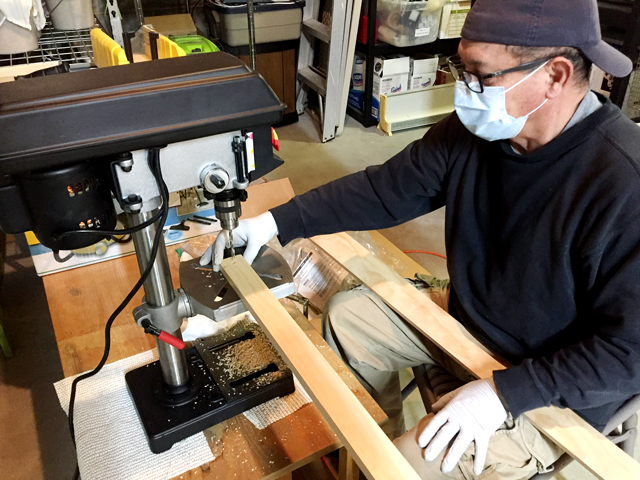
Next, going from the top back of the bench we numbered each slat and then pencil marked on both ends exactly where the hole should be drilled for the bolt. We needed to do this step because the holes for the bolts were not standardized in the sides of the iron bench frame. Additionally, we wanted the slats to fit tightly to avoid any wobble in the bench. We are also hoping that a tight fit between the cast iron frame and the wood will minimize rainwater pooling.
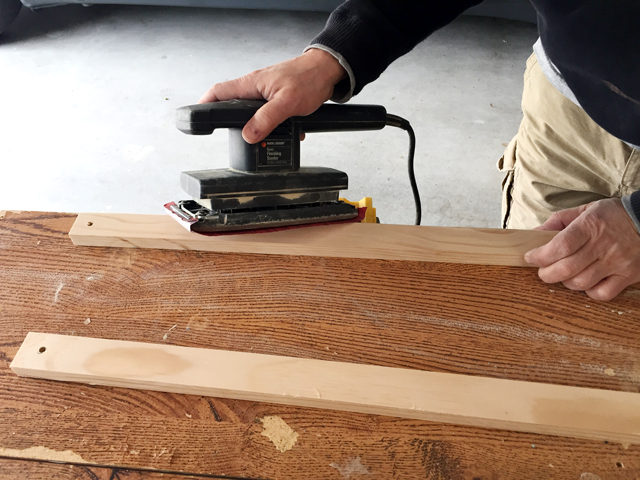
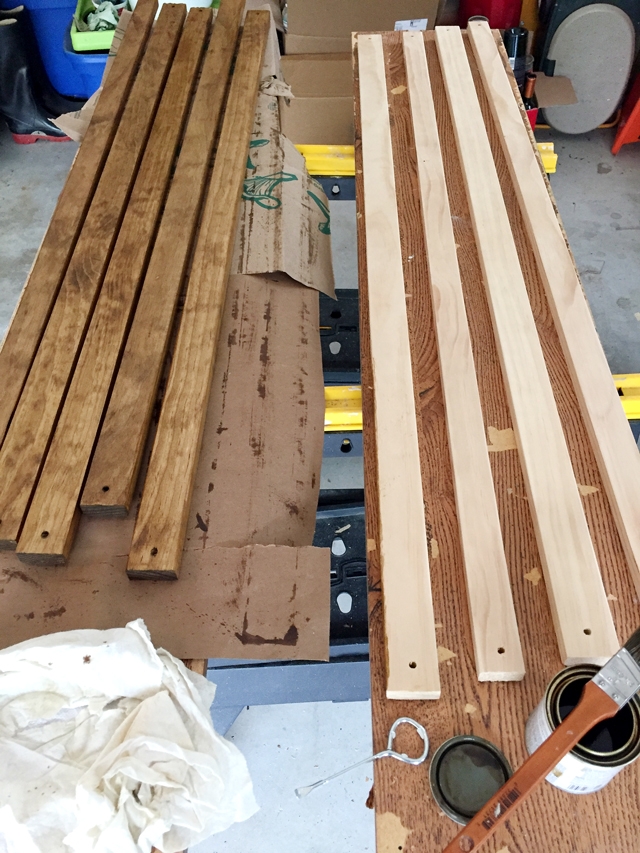
To assure the bench was comfortable, with no sharp or splintered edges, we sanded the top edges of the slats on the bench seat. Finally, we applied the sealant to protect the wood. The semi-transparent stain/sealant gave the wood a warm color without hiding the grain of the wood.
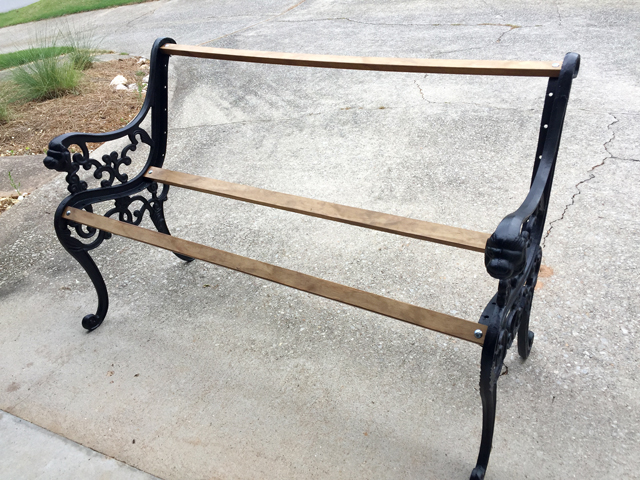
Assembling Our Antique Iron Garden Bench
We are finishing the bench project and are excited to see it coming back together. It has a new solid, and safe seat. The light color stain shows the grain and the various tones of the wood. We like the black color we chose for the iron. It really has a fresh look.
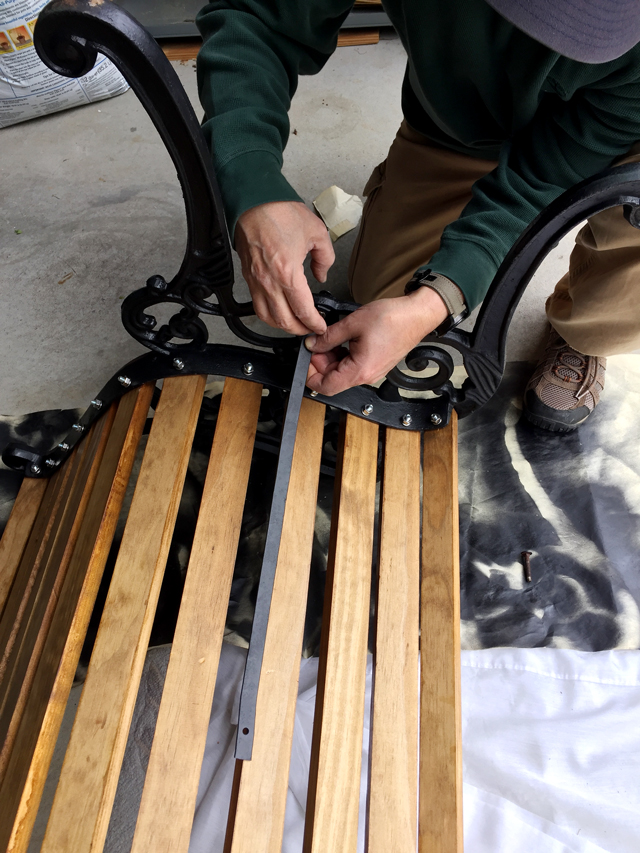
The one last step was to connect the metal support straps underneath the bench. This secures the structure and offers added safety.
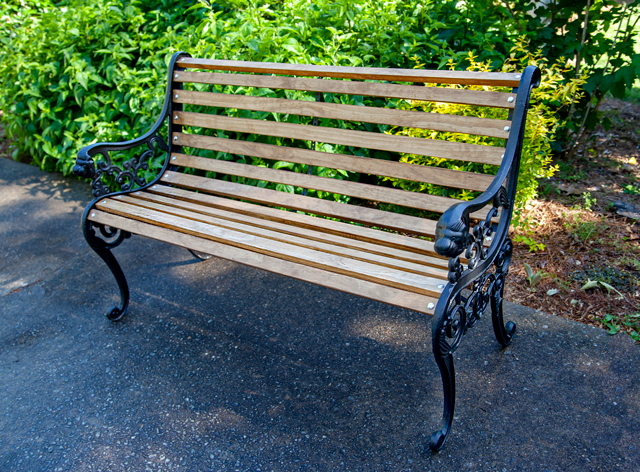
Restored Heirloom Cast Iron Garden Bench
We’re thrilled to have our bench back, and we’re not afraid to sit on it! The next step is to create our flagstone “Corner of Solitude” in our woodland garden where we can enjoy the bench as well as the calm, natural surroundings.
Hi there
I’m just checking was was the final timber sizes you used? Is that the same as the original size?
Thanks
Hi, thanks for stopping by the Blog. The size of the wood slats are 48″ long, 2″ wide, and 3/4″ thick. We used a total of 12 slats to complete the bench.
And, yes, we matched the measurements of the original bench.
I found one sitting rotted in someone’s yard. Been like that for years. Going to ask if I can have it. I want to restore it for my yard. Love this thank you
Great idea. I hope they gave it to you. You will be able to enjoy it for years…then you can even replace the wood again!
Funny thing, I took the wood measurements from my bench today before I saw this post. The bench has been in my garden for 36 years now. Oak slats are original and I will stick with them again. Thankfully I used 1/4-20 stainless steel screws with nylon locknuts when I assembled it back then, they came off like I put them on yesterday ! Thanks for the tips.
Wow, in your garden for 36 years, that’s awesome! I’m so glad the blogpost was helpful. Benches like ours are a perfect addition to the garden…great place to take a break too!
What size are the bolts you used?
Hi David, sorry for the delay, but I wanted to make sure I was measuring properly. Here are the dimensions:
The width of the screw is .2 inches, width of bolt is .4 inches, and the length of the screw is 1.5 inches. Hope that helps.
Thanks for the answer, i ended up using 1/2 x 20 x 2 boards were à little thicker. Paid à $90.00 for powder coating both sides and straps. Looking for another one to save.
I meant 1/4 x 20 x 2.
Very simple & straight forward. Thank you! I was wanting to do mine with recycled plastc boards/slats. Have you ever used this material & would you have any pointers?
Hi Cindy, I wanted to keep the bench as original as possible since it was a gift from my Dad. However, using the plastic boards/slats would definitely be durable. My only thought is that you may want to ask about the heat retention of the plastic product if your bench will be in a sunny place. Good luck with your project.
Beautiful job! The term I use for my expertise is “dedicated hack”, LOL.
Did you add a center strap down the back and under the seat to prevent the boards from separating over time? And, more importantly… May I ask what bolts you used? (The UK has hardware kits! But, not here..) Attempting a renovation for a dear friend…
Thanks Connie. Yes, we ran a metal support strap from top back of bench to the front of the bench seat! The photos of old bench show the previous strap in place, but we apparently added the final strap after the feature photo was taken. The bolts we used were a match to what was previously used on the bench. We took a screw and bolt with us to match when we purchased them. Hope this helps. It’s awesome you’re doing this project for a friend. I’m sure it will turn out great!
What stain/sealant did you use?
Hi Brittney, I used a stain and sealant combination (semi-transparent, semi-solid). Olympic Elite is the brand name.
Thanks for coming to our blog. Good luck with your project.
I absolutely love how this turned out! I am currently working on a bench which led me to your post! I am hoping you know where to direct me to where you got the metal support straps! I’ve been to ever hardware store and looked on line!
Hi April,
We bought the metal straps (they have holes in them) at Home Depot. We used a tin cutter to adjust the length for our bench and they worked well. I hope that helps. Good luck with your bench. Thanks for coming to the blog.
Great restoration.
Does Home Depot have the straps to size and or did you have to cut / bend then to fit ?
Thanks, we are enjoying the bench a lot. We took measurements with us for the straps we needed and Home Depot cut them for us. Hope this helps. Good luck!
Just getting almost done with ours. Five wood pieces on the bottom two on the backing, one on the back bottom and one on the back top and has heavy decorative metal in between those two pieces.
Like the other our old wood completely rotted away. Wire brushes all iron sides and back getting ready for satin black. For the wood I used stair treads and ripped them on the table saw at 2-1/4″ x 48″ x 1″ high. Had to cut a 1/8″ x 1″ deep relief in the back of boards to fit in between iron sides framing. Painted carriage bolt tops for all wood except the top two each side has to be beveled heads to fit into metal. Found out that after the whole thing is assembled other than the top two. Tomorrow hardware store again. The stair treads ripped and polyurethaned 5 coats and no stain just going with natural color from poly. Oh man that hardwood is strong as can be absolutely no wobble here.
That’s awesome. Yep, it’s quite a bit of work but you’ll enjoy it for years to come. Thanks for commenting!
Love the bench – it’s history and how great it looks after you restored it.
I assume you had to replace all the nuts and bolts?
Can’t wait to see the new bench in its new corner.
Thanks very much. Yes, we replaced all the nuts, bolts, and washers. We’re finishing up the flagstone corner now. However, the rain is slowing things down a bit. Coming soon!