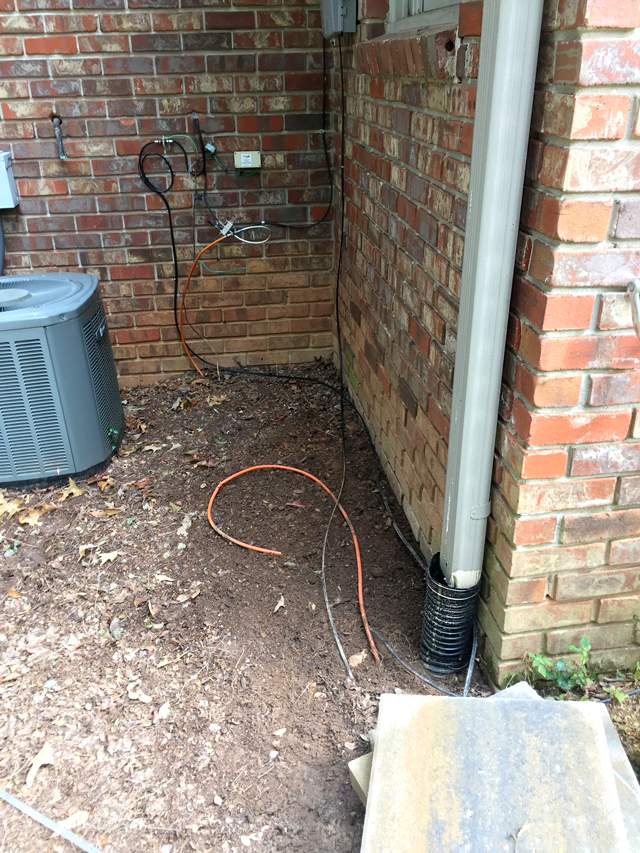
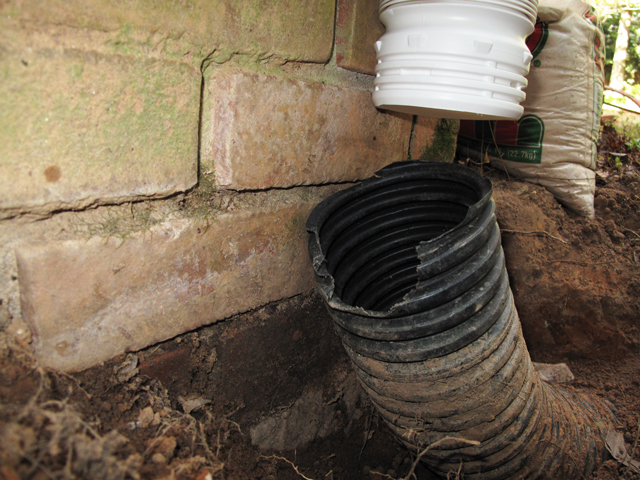
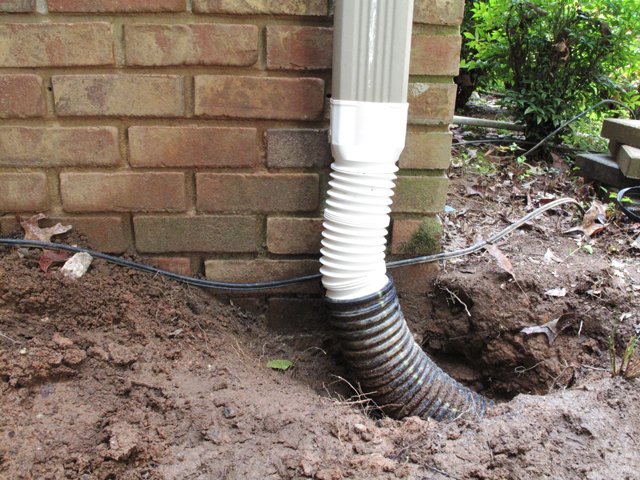
We had just started the process of installing our new barrel stand and rain barrel when the project came to a quick stop. We discovered a sizable hole in the side of the plastic drainpipe at the base of the downspout. The damaged flexible pipe was allowing water to drain out and run along the foundation of our house. The repair would require digging up the flexible pipe, replacing the damaged section and burying the flexible drainpipe again.
A Downspout Adapter Is Our Answer
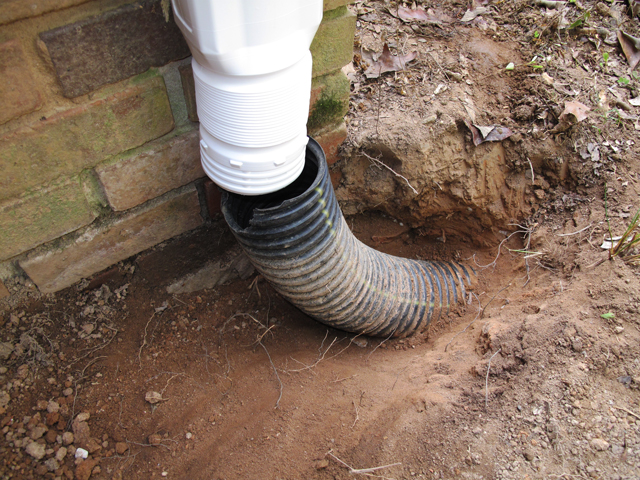
At that moment a new “project” was born. Prepared with photos of the damaged drain showing the specific type of connection, it was easy to find exactly what was needed at a local big box store. I headed back home with a downspout adapter. One end of this piece will connect to the rectangular metal downspout and the other to the flexible underground drain.
Digging Up The Flexible Drainpipe
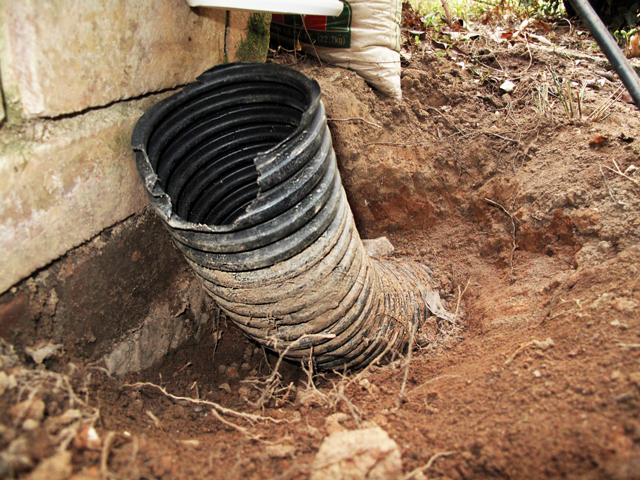
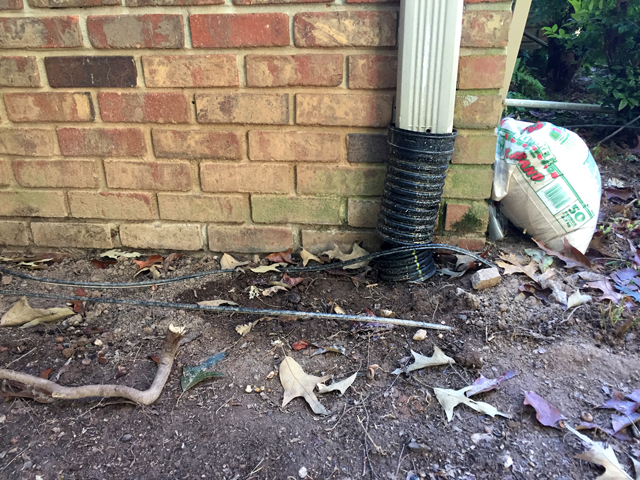
In order to fit the new adapter onto the in-ground flexible drain I had to dig up a small portion to make it flexible enough to work with. Then the damaged section could be cut off.
Head’s up… digging up the damaged pipe is not as easy as it sounds. It’s plastic and it’s fairly easy to punch a hole in it if you’re not careful. Also, if your soil is predominately clay and very dry, as it is here in Georgia now, it can be a bit like chipping away at concrete! I had to be very careful not to damage the drainpipe already in place.
Installing the Downspout Connector
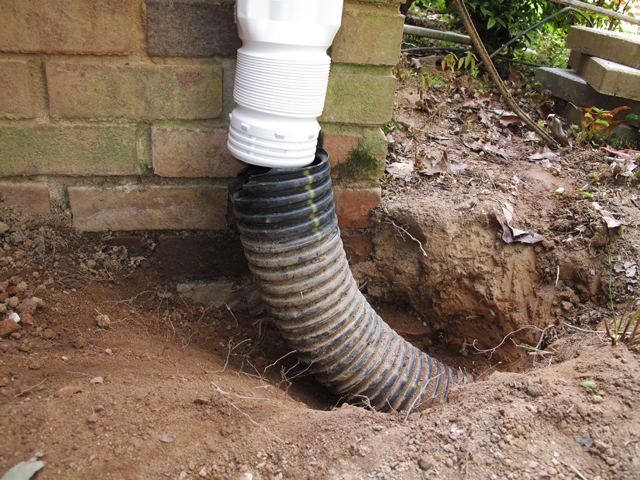
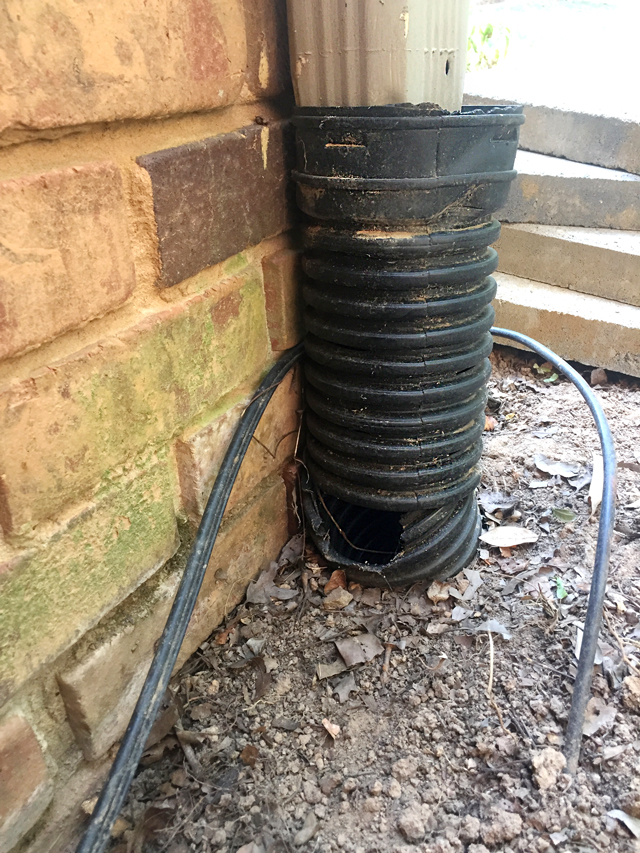
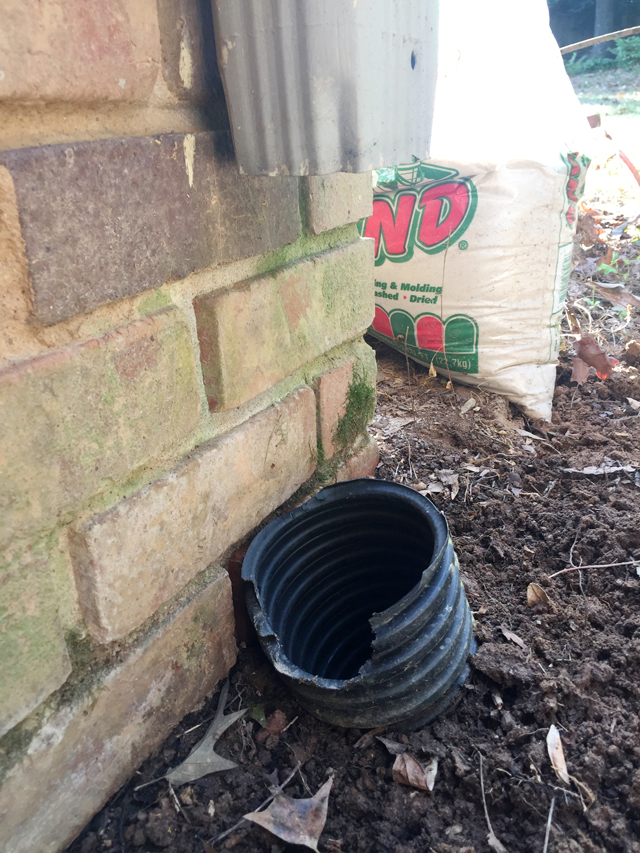
If you have to cut away any broken edges on the end of the existing flexible pipe, make sure the cut is even and smooth. This makes it easier to attach it to the new adapter. Snapping these two pieces together takes a bit of strength. Once that connection is made attach the other end to the downspout and you’re almost done
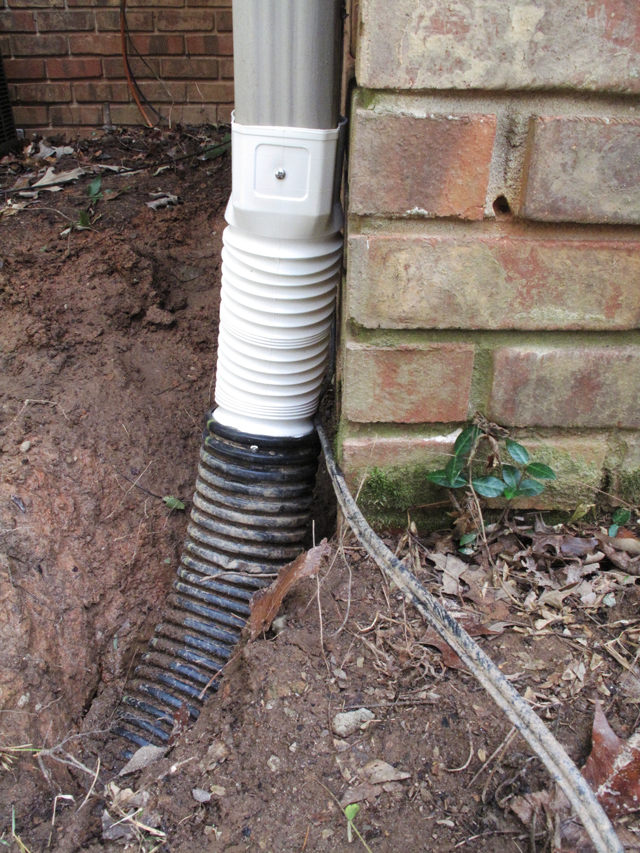
Securing And Finishing The Downspout Adapter
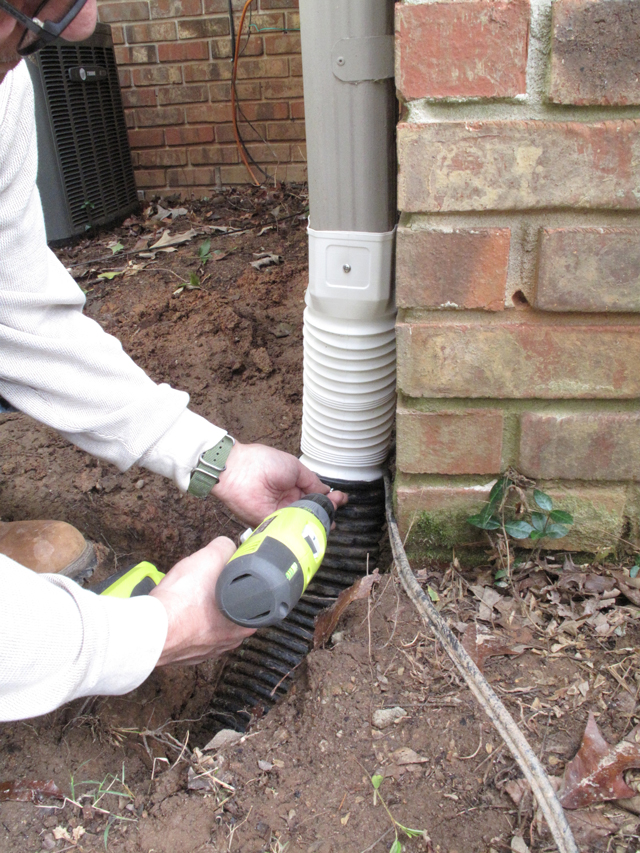
Using a drill and 4 – small rustproof screws, attach the adapter to the metal downspout as well as to the flexible drain and this job is nearly done! I replaced the soil around the buried drainpipe, smoothed it out a bit, and called it finished. There’s no drain system I would call “attractive.” However, after replacing the underground damaged flexible drainpipe, it looks neater than it did. And, even better, it works! We no longer have water from our roof flowing along the outside of our foundation.
Replace Soil And Job Is Done
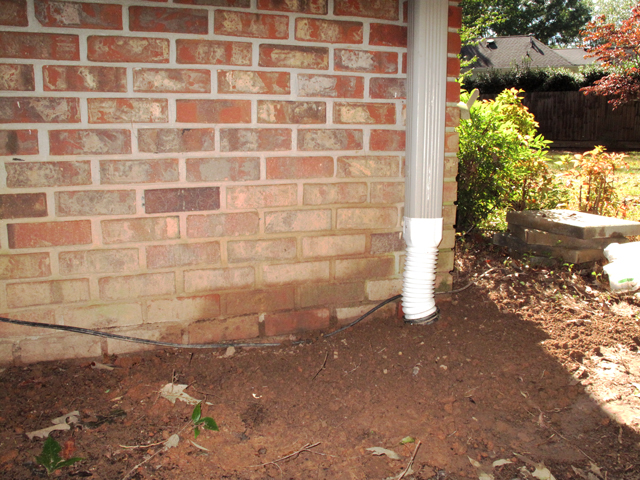
The final step was to fill in around the flexible drain pipe and gather up the tools! Not counting my time, this was a very inexpensive repair. The connector was approximately $4.00 and we had the screws on hand. Not bad!
Tools and items needed to repair a broken flexible drainpipe:
- Flexible plastic “downspout adapter” to connect the metal downspout to the flexible drainpipe
- Small shovel and hand tools for “careful” digging
- Short aluminum nails to secure the plastic expandable connector to the downspout and to the flexible drain
- A drill to install screws
- Utility knife to cut away any broken end section of flexible drainpipe
Check back soon as we will have our rain barrel installed and fully functional.
I had a subscription to The Family Handyman for many years and never noticed this fix for a broken flexible drainpipe from a downspout. Your pictures look exactly like the same issue we have. Last fall I decided to try to tackle the problem with a combination of Flex Seal products, to mixed results. The one at the back of the house, by our rain barrels, now works fine – no leak coming out and down the foundation. The front was a total disaster – I think it leaks worse now than before! An internet search led me to your website in trying to find a solution. This is exactly what we need to install, and just like how you show it. Ace Hardware had the adapter for about $5. I look forward to working on this project right after the vegetable garden is planted and most of the 10 yards of mulch is spread.
I’m so glad our post was helpful. Our drainpipe is still working great and we’ve added a rain barrel to it as well. Thanks so much for coming to our blog. Enjoy planting your vegetable garden and stay safe and healthy!