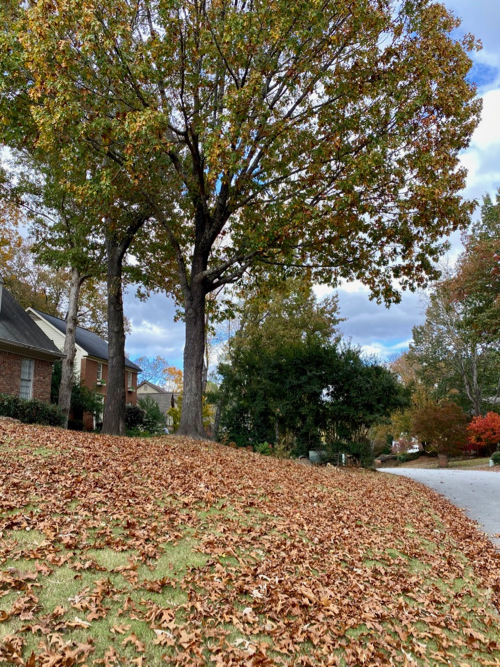
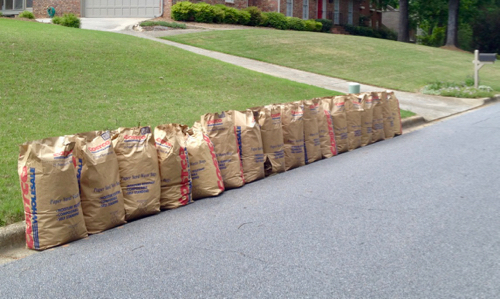
Fall is here, the colors are beautiful, the temperature is perfect, and all is well…until the leaves start to fall. We are tree lovers most of the time, but there sure are a lot of leaves to deal with right now! Solutions include gathering the fall leaves and putting them into paper bags for the garbage company to take to the landfill. Or, I could make an effort to compost them and add them back into the soil. Sounds like a lot of work? So is bagging all those leaves and dragging them to the curb! We’re working on an easy to build, wire compost bin that turns leaves into rich compost to put back into our garden. It’s a much better use of our time and good for the soil.
This new compost pile will be exclusively for leaves and grass clippings. However, we will continue to use a traditional compost bin that we’ve used for 8 years now. We use it to compost kitchen waste and office materials such as raw fruit and vegetables, eggshells, coffee grounds, in addition to shredded white and brown paper (no colored or glossy paper). I also add leaves and small sticks to this pile if I feel it needs more brown material. I avoid having to deal with weeds sprouting in the compost by never adding them to the bin.
Build A New Compost Bin That’s Just For Leaves!
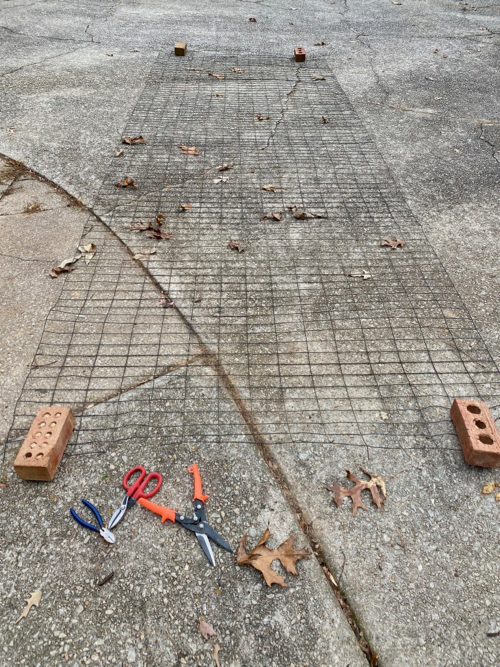
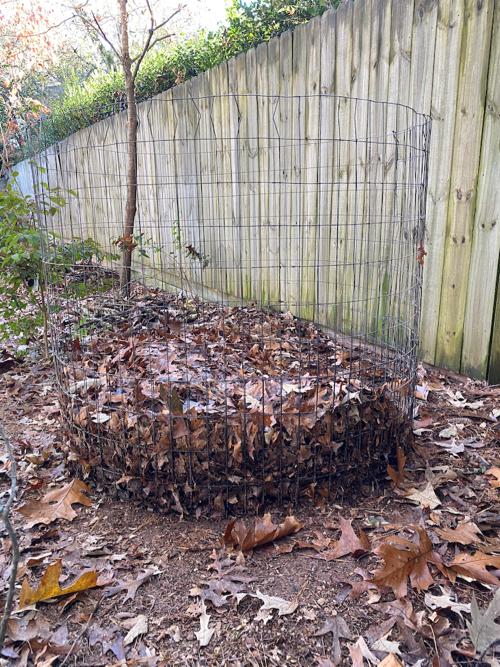
It seemed like a perfect idea to build a dedicated compost bin for our fall leaves. But even better, we already had a perfectly sized section of wire fencing that will work great for the project. If I recall correctly, we purchased the 5-foot tall roll of wire to circle a hydrangea that the deer were mutilating. Ultimately, we gave up and moved the hydrangea inside the fenced area of our yard. So, that section of wire fencing will soon become a circular compost bin for our fall leaves. It will be located at the back of our woodland garden. Since we have an incredible amount of leaves, where ever we place it would be convenient! It just wouldn’t be a good location aesthetically!
Repurposing Wire Fencing Into A Leaf Composter
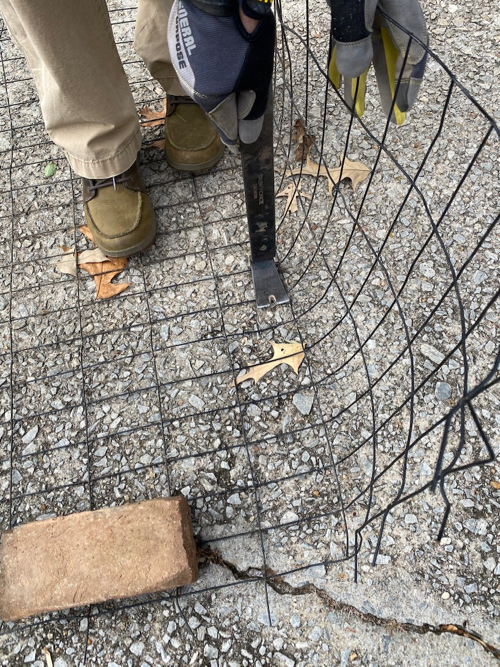
The section of wire fencing we had on hand was about a foot taller than we needed for our leaf composter. So, rather than cut it off, we folded that portion of the wire up from the bottom and secured it with steel wire. It worked out well because it reinforced the bottom of the bin and made it more stable.
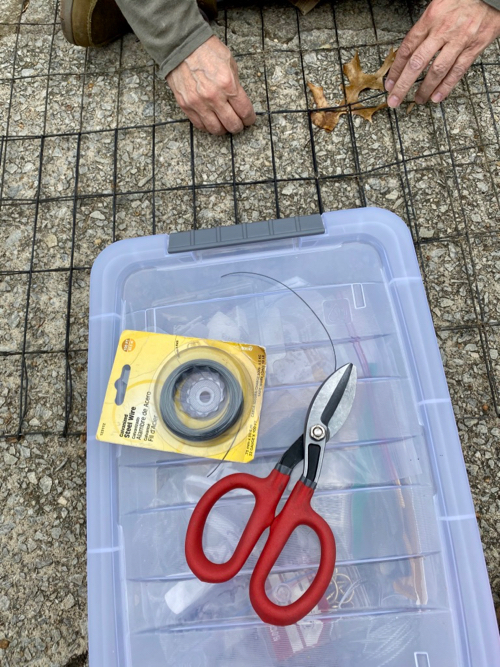
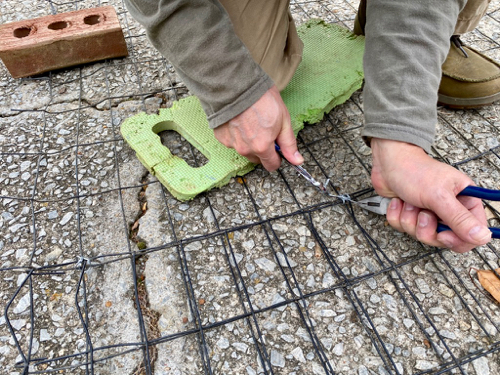
Now that the height was determined and the folded length was wired into place, the next step was to complete the circle and connect it. We experimented a bit with the circumference and decided how much overlap to keep, then we wired the side of the bin in several places from top to bottom.
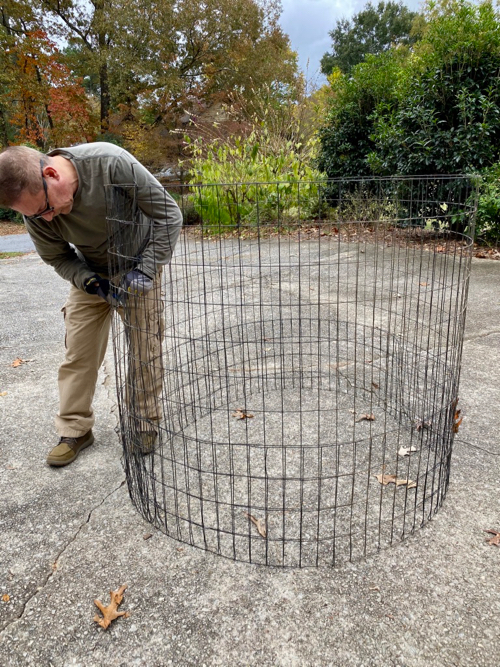
Securing The Compost Bin To The Ground
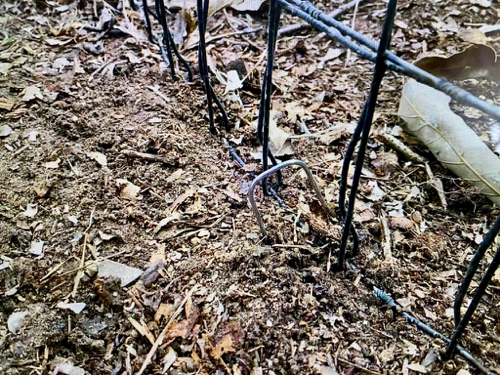
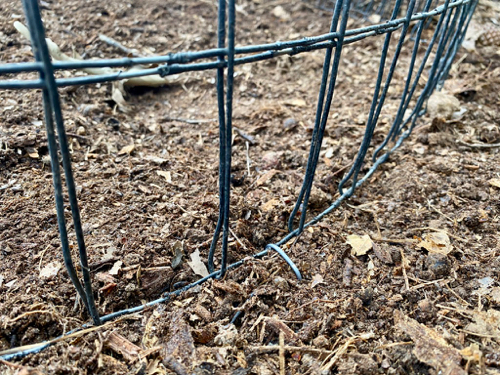
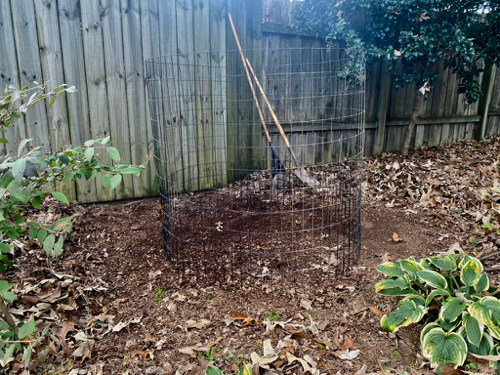
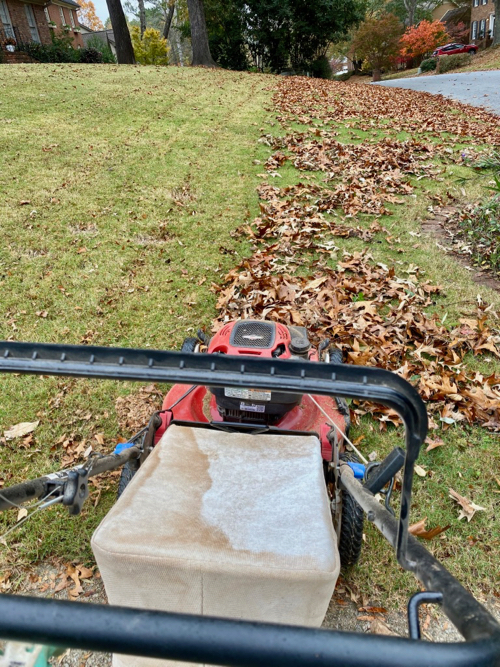
I positioned the wire compost bin within our woodland garden in our back yard. This location gets some late afternoon sun but is mostly shaded. We used 6-inch U-shaped garden stakes in 5-6 places around the new compost bin to secure it to the ground well. Reassured that there would not be a flying or rolling compost bin, the next step was to put it to work! So, I headed to the front yard and fired up the mulching mower.
Compost Frame Is Ready For Leaves
As I mulched the leaves, I took a bit more care to make sure the leaves were being mulched as finely as possible, knowing that smaller pieces will break down faster. The leaves were dry and broke up well. After dumping the entire front yard’s leaves into the new compost bin, significant space remained, and the leaves had not yet settled. More good news is that it rained for a couple of days after completing the leaf compost pile. Now there’s plenty of room for more leaves, and soon we’ll have all of the rest of them on the ground!
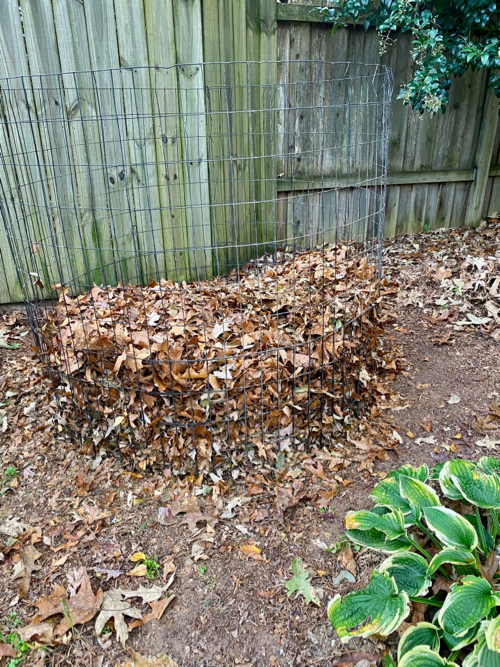
This project was an effort to reuse nature’s end of season leaf bounty. I plan to do my due diligence by turning the leaf pile a couple of times a week and cover it for warmth to keep it from drying out, so decomposition will continue. Within 6-months, I expect to be spreading black gold around my favorite trees, shrubs, and perennials. They’ll love me for it!
The work is done in the garden today. I think I’ll take short walk over to our flagstone patio retreat and enjoy the work that’s been done as well as the beauty around me.
Thank you for a great article. I, too, am going to do this, however I don’t have a lawn mower to mulch the leaves. Can I just rake up the leaves, put them in the bin, and turn over regularly. What if I add some compost starter? I love using compost starter to my compost bin. I turn regularly and only use vegetable scraps, egg shells and cut up banana peels. Of course, the garden stems, leaves, and stalks, etc from the garden.
A South Carolina transplant from Illinois just loving the longer growing season!
Hi Marsha, I’m a transplant too…from Ohio to Georgia! I think putting the whole leaves in the compost will work, especially if you turn them regularly and watch that it doesn’t get too dry. A working compost pile should feel slightly warm and have the dampness of a rung-out sponge. Thanks for coming to our blog.
Just ordered some wire fencing to do just this! Thanks for this article, as this is just what I’m planning to do, and this is confirmation that my plan will work. I have a completely shaded area just inside my privacy fence on the north: a narrow bed of ivy against the house, a 3′ wide path of pavers, a line of landscape timbers, and, finally, a 6′ wide space between the paver path and my property line. About 1/3 has chat (small gravel). I didn’t really want to start a real compost pile, with kitchen scraps, as I do use a walker, and was concerned about being able to always keep up and monitor the compost pile so it didn’t turn into a rotten mess. (I did invest in a wormery, for kitchen scraps, which I keep in my utility room.) I was surprised to read that your leaves were ready so soon. I was thinking that without the scraps, the leaves would be slow to decompose. I do have small leaves: elm, locust, maple, one each. I was thinking of giving the leaves a light sprinkle of dirt when I turn them to hasten the process? Thanks again for your article.
Thank you for your comment. Sounds like you have a great plan to make some very useful compost. I just recently pulled the wire off my pile and raked the not yet fully composted leaves that were on top into a separate pile and replaced the wire bin around them to let them continue to decompose. I then used the bottom level of dark, rich compost to spread around a variety of plants in the woodland garden. Happy composting!
Would this be good to spread and till into a vegetable garden plot in the spring?
Hi Rhonda, composted leaves are an excellent addition to your garden. Even better would be to also add some lawn and kitchen compost along with the leaves. I have a lawn and kitchen compost pile separate from the wire leaf composting bin. Mixing some of both types of compost would be a great garden addition. Here’s an article about composting from our County Extension office that might be helpful to you. Thanks for your comment.
I am going to do this! Thanks for the idea!
What do you cover your bin with and does it stay covered?
Hi Karen. I haven’t covered the leaf compost pile at all. I turn it occasionally and toss in small sticks that fall nearby, but no regular turning. This fall I will spread the decomposed leaves around the woodland garden perennials, shrubs, etc. Then, I’ll fill up the bin again with this year’s leaves!
I am a little confused. I thought you said that you did your due diligence by turning the leaves occasionally and covering them to keep them warm so they didn’t dry out. But in your answer to the previous commenter’s question, you said you did not cover it. Can you clarify thaT, please? Thank you.
Hi Jean, regular turning of the compost pile was indeed the intention when I said in the post that “I plan to do my due diligence by turning the leaf pile a couple of times a week.” However, life got busy and that didn’t happen. But, as you will see in the follow-up post it still turned out rich, very usable compost. I invite you to read the post at this link: https://theemerginghome.com/wp-admin/post.php?post=3792&action=edit
Hope I’ve provided the clarification you were asking for. Thanks for coming to our blog.