Even now, in 2020, Mid-Century Modern furniture continues to be very popular. The warm wood tones and natural design lines of these pieces are timeless. I’m excited to add a bit of this style to our home. We’ve been fortunate to inherit a Mid-Century Modern side table that has been in my family since 1960. The goal is to refinish this Mid-century Modern table as close to its original condition as possible.
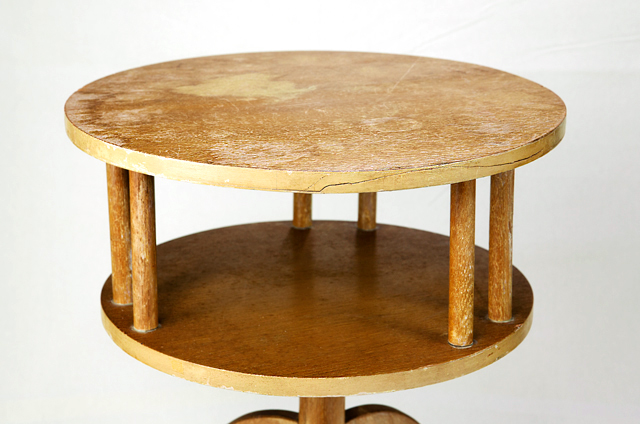
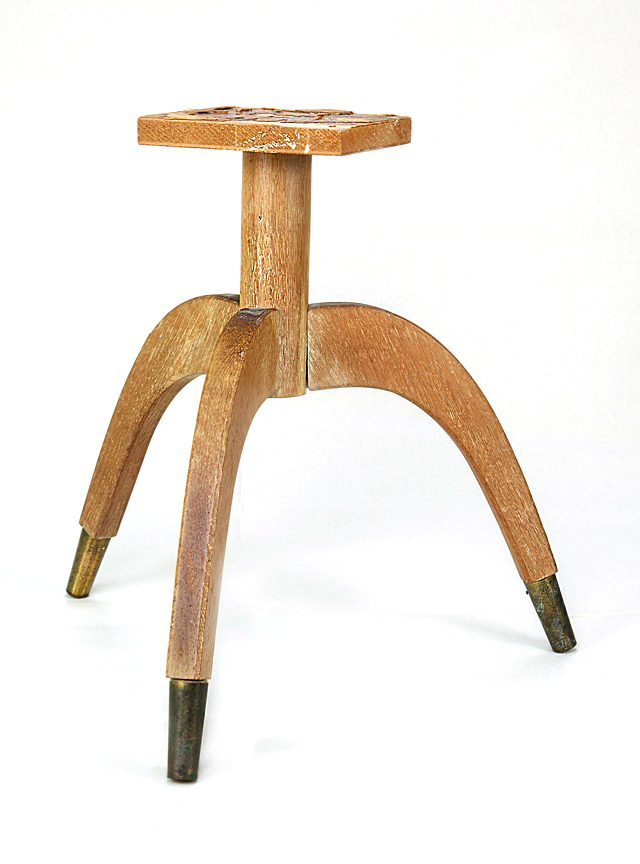
Over the years, my parents placed the table in less conspicuous places as decorating styles changed. The Mid-century Modern table was a gift from friends in the community in celebration of my parent’s newly built home. If it had not been for this sentimental attachment, the table might have disappeared among the many other furniture donations made over the years. I’m so glad that didn’t happen. Now, I’m hoping to bring this piece of midcentury modern furniture design history back, or as close as possible, to its original beauty.
The Origin Of Mid-Century Modern Style
This design style that became popular in America lasted from the mid-1930s to mid-1960s and was based on the Bauhaus style in Germany. If you want to learn more about the origin of Mid-Century Modern style this is a great article.
Repairing The Table
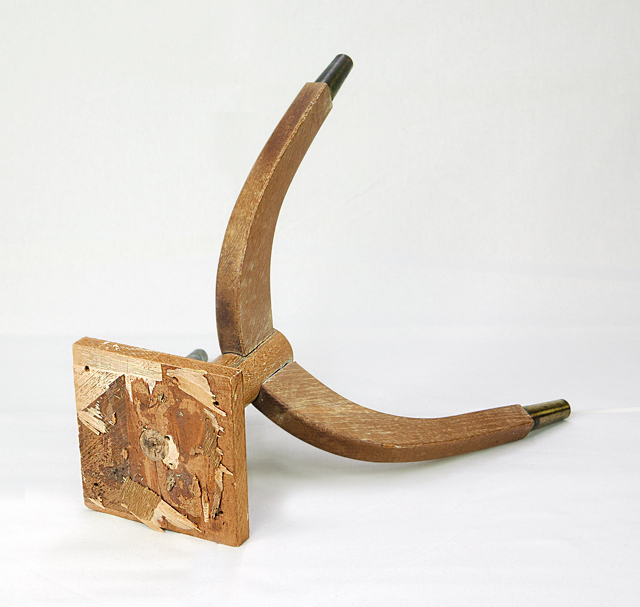
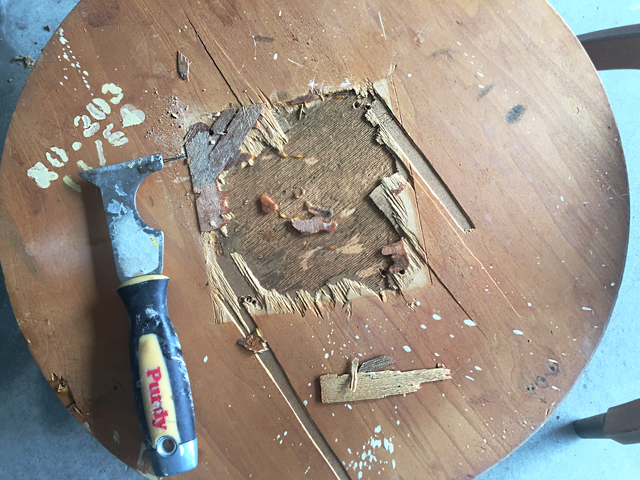
Not surprisingly, our 60-year old table has some damage. The tabletop had been attached to the base with screws in addition to being glued together. Over the years of moving the table around, the screws became loose, resulting in the very dry glue breaking apart and separating the tabletop from the base. We removed the screws and could see that the manufactured wood was splintered. But, we were optimistic that, with some work, the table could be securely reattached.
The Table’s Overall Condition
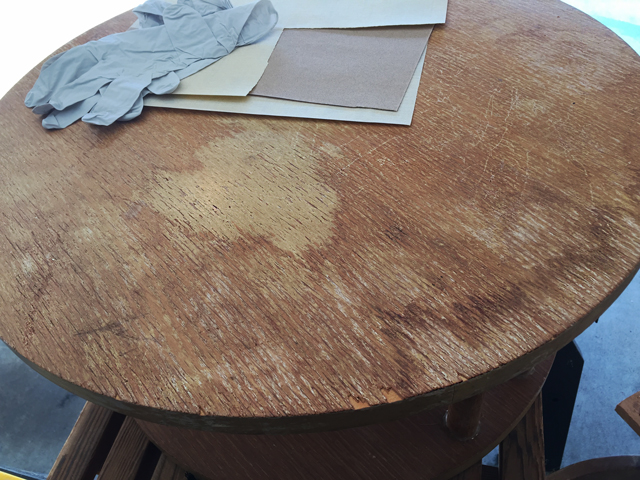
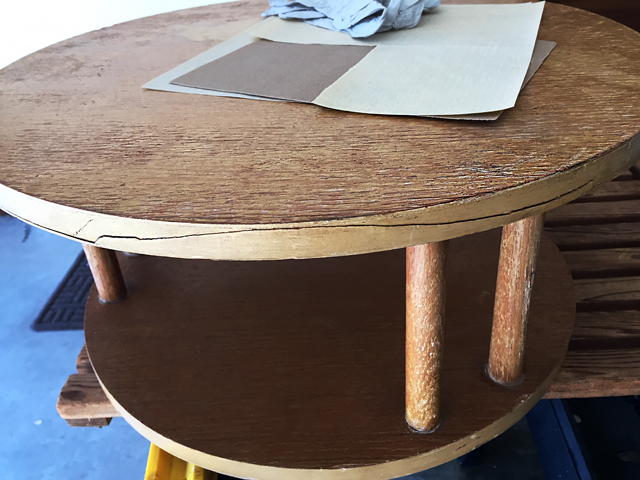
The Mid-century Modern side table from the 1960’s presented its years of wear and tear through a variety of scratches as well as multicolored dark and light stains that appear to be water damage. There are also a few small pieces of veneer missing from the edge of the top shelf veneer. The veneer strip that surrounded the outside edge of both shelves of the table was intact but included one prominent crack.
Sanding The Table
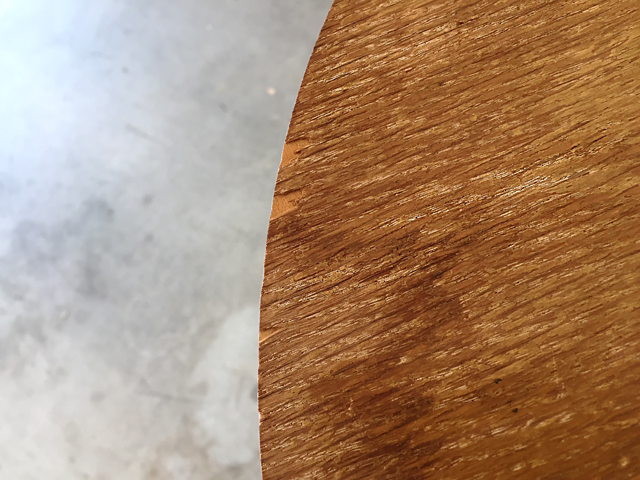
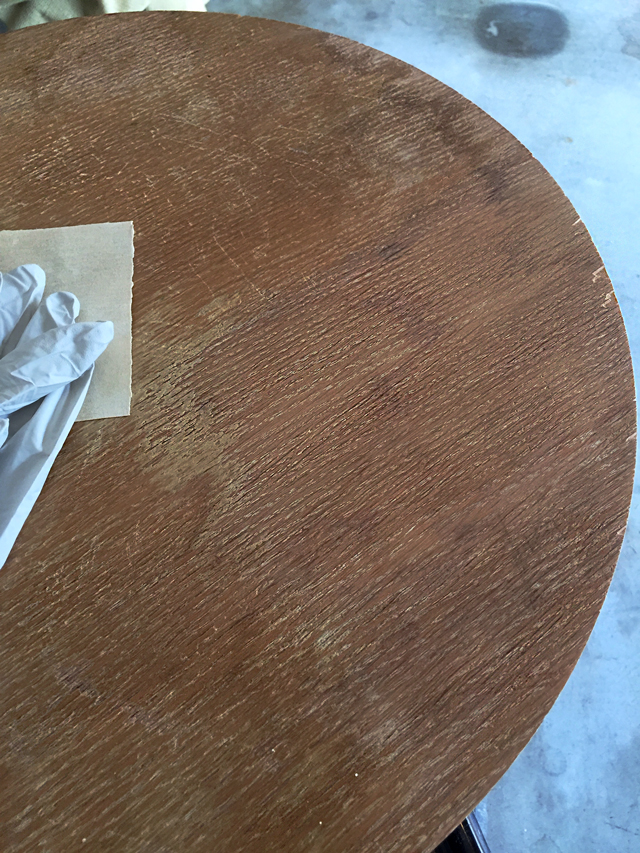
I was hoping for the best results but was realistic about the degree of damage I could see on the surface of the table. First, I cleared some space in the garage to start sanding. Next, I focused on one section of the tabletop and, using 220 grit sandpaper, gently sanded over the many shades of stained wood. Since the tabletop is a wood veneer, I had to be very careful to monitor the depth of my sanding. I certainly don’t want to sand through the wood veneer! As I sanded on the darker stains on the veneer tabletop, I become concerned about the depth of the stain. Some of the stains appeared to be lightening, but there was still a long way to go.
The tabletop required a lot of very gentle sanding. Each time I sanded an area, I would run the portable vacuum over the tabletop. Since this is a very dusty job, it goes without saying that you should always wear an appropriate dust mask and some type of goggles to protect yourself.
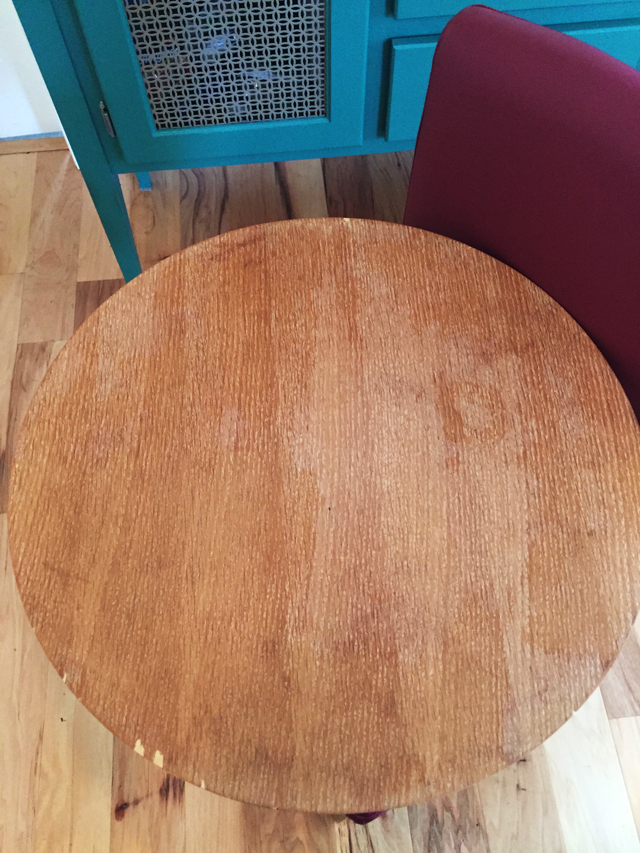
The Sanded Tabletop – Time To Ask The Professionals
I finished sanding the entire table as much as I dared. The lower level shelf and the three solid wood table legs sanded much more evenly than the top. Unfortunately, the top of the table seems to be damaged beyond what I knew to do to repair it. I decided I needed to consult a professional to see if there was a process that could produce a more consistent finish on our Mid-Century Modern table.
With the table in my car’s back seat, I headed to our local Woodcraft store to get some advice. I was fortunate to spend quite a bit of time with a one of the store’s woodworking experts who had specialized in antique furniture refinishing. We discussed the options for the table considering the significant water damage stains on the top.
One option was to replace the veneer. I was assured that it was not as big a job as it seemed. However, I really wanted to maintain the original wood veneer. For me, the scratches added character and helped me visualize it in use by an earlier generation of family members.
Their second option was to use wood bleach to lighten and even out the wood tones on this top level of the table. However, the rest of the table would need this treatment as well in order to have a consistent finish.
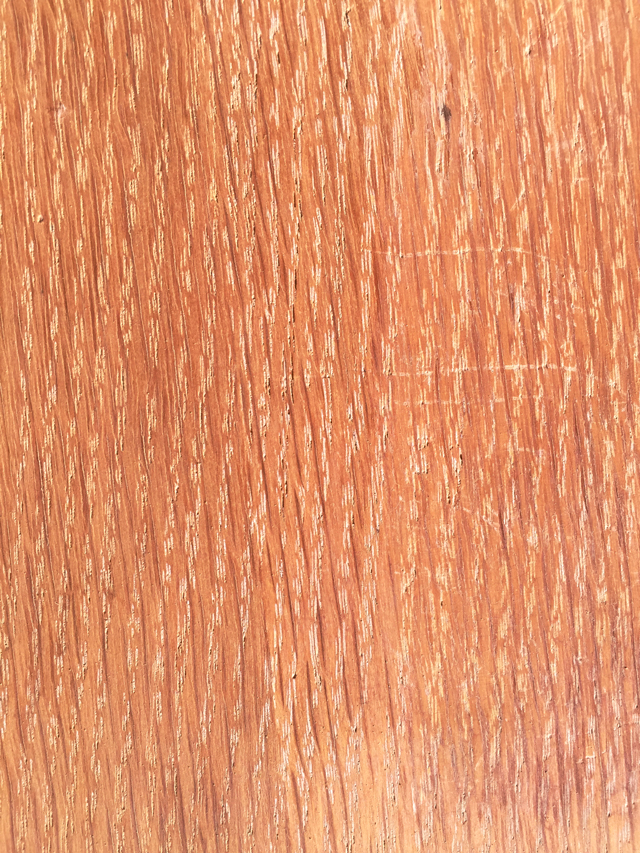
After looking closely at the table, the Woodcraft experts assured me that, on the solid wood parts of the table, I could successfully sand deeper to smooth the finish without damaging the table base and legs.
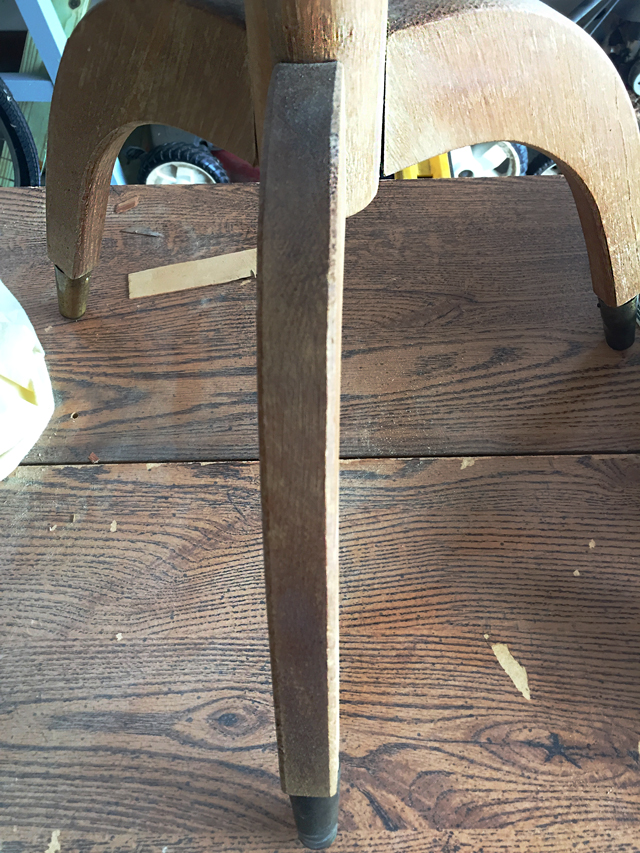
They also pointed out the table had dust and residue in tiny cracks in the wood left over from years of being stored and out of use. This could be removed to make the finished texture smooth as well as a more consistent color.
So, I’m heading home with the necessary products to start again on the table that has been in my family for 60 years. I’m determined that my daughter be able to enjoy this Mid-century piece of history and value it as I do.
Please come back to the blog in a few days to see the final results. Wish me luck!
A lot of work.
Yes, it is, even more than I expected! The bleaching process became a bit complicated. I’ll share details in our next post. Stay tuned. Thanks.