During the fall season in southeastern US, before cold temperatures set in, is when I get into my garden and shake things up a bit. First, I transplant small shrubs and perennials that I’ve decided need to be someplace else in the garden! I just moved a volunteer Broadleaf Mock Orange out of the center of the garden and closer to our border fence. Next, I divide plants that are overgrown and plant the separated ½ of the plant in a new area or give it away.
Last is the job I dislike most, yet a very important one, is to get rid of any weeds that have popped up through the mulch during the summer. I also like to bring in new perennials for the garden or contemplate the best place for a new piece of garden art! An already slightly refreshed garden makes springtime chores even more fun for me!
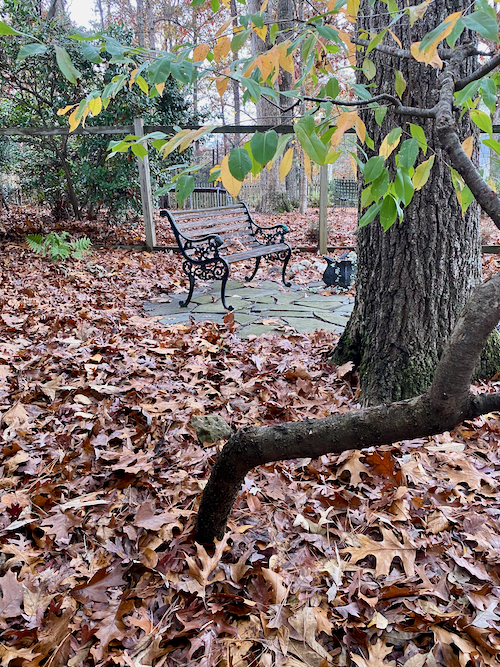
What About All Those Woodland Garden Leaves?
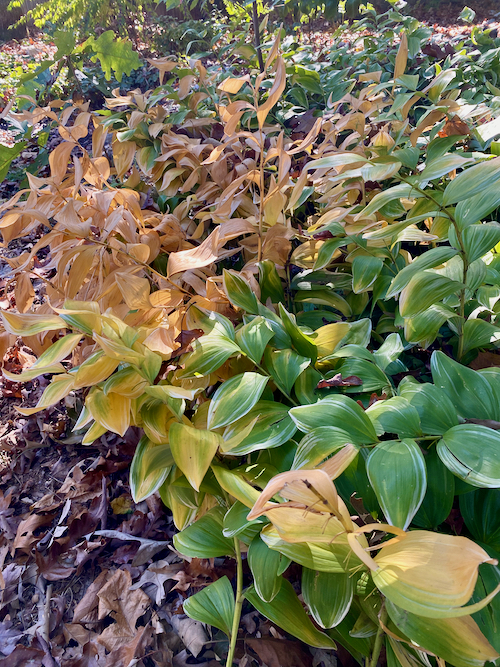
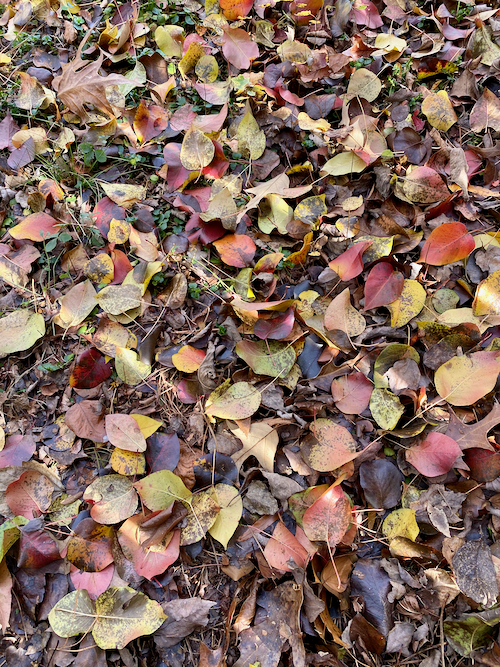
First, we blow the leaves out of plants and remove them from the mulched walkway. This dense layer of leaves is left around the bottom of each plant to act as buffer in winter and continues as mulch in spring and summer to discourage weeds. I love Solomon’s Seal, and we have it covering several areas in the woodland garden. It’s so self reliant, it just disappears in the fall and returns in the spring! Over the next few months all the leaves will fully decompose and the remaining organic material will enrich the soil. The woodland garden leaves are the easy part…then there’s the yard!
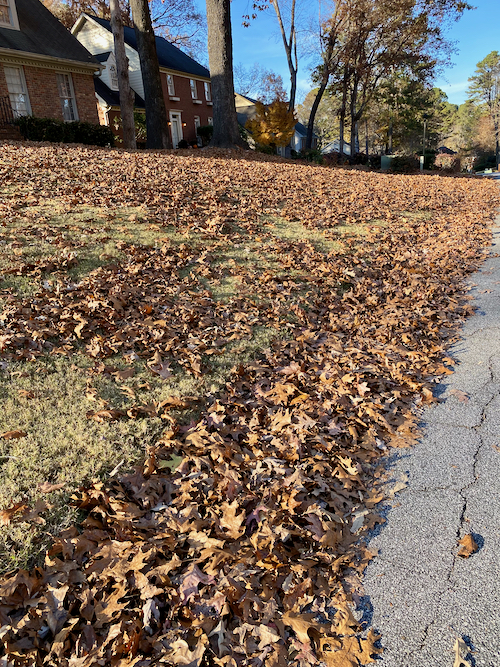
Front and Back Yards Have A Lot of Leaves Too!
There are still loads of leaves in the front yard as well as the back yard. The mulching mower reduces the leaves to a fine mulch that is added to its very own, easy to build, compost bin in our Woodland Garden. Click the link for a more detailed look at building your own leaf compost bin.

Once all the leaves are gathered and loaded into your wire bin, there are a few things to do that will help with decomposition. Allow the leaves to be exposed to some rainfall. The dampness will encourage decomposition. Also, using a pitchfork, or other tool, turn the pile occasionally in order to encourage development of evenly decomposed, rich compost. Next fall, that dense pile of shredded leaves will be fully decomposed into the perfect organic mulch to use around plants to enrich and protect through the chilly winter.
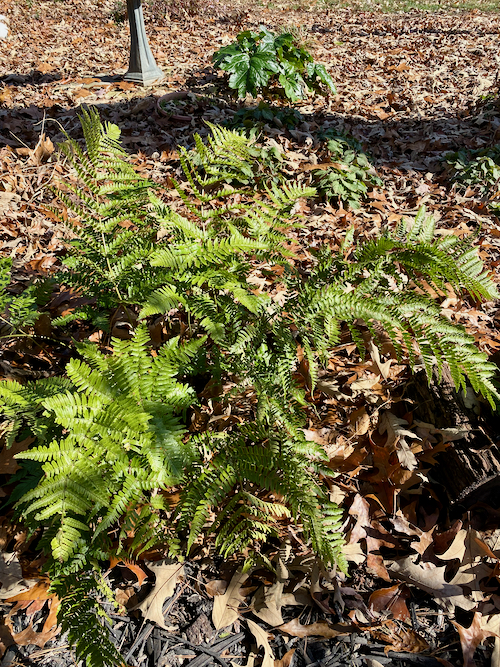
Fall in Southeastern U.S. is a Great Time to Transplant Ferns!
I’ve decided to group more ferns together to make a bigger statement in our Woodland Garden! Since the weather is cooler in the fall it will offer the newly transplanted ferns time to settle into their new area before it gets hot next spring. I’ve introduced various types of ferns into our woodland garden over the years. Since ferns spread from spores, which are more prolific than seeds, this fall I’ve noticed quite a few “mini ferns” growing nearby our established ferns. I’ll also transplant some of those to the new “focus on ferns” area of our woodland garden.
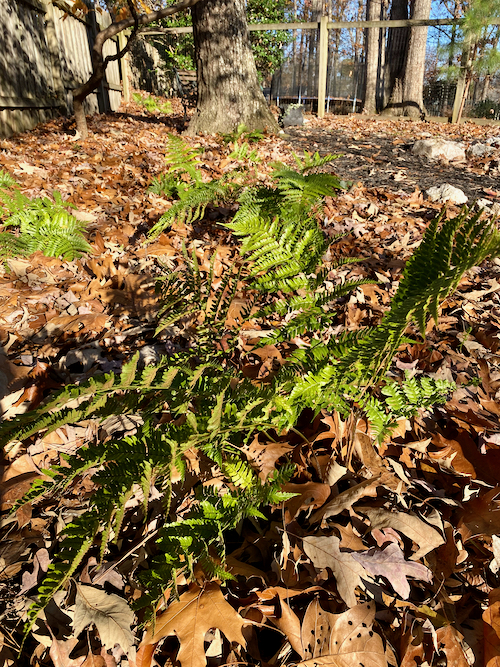
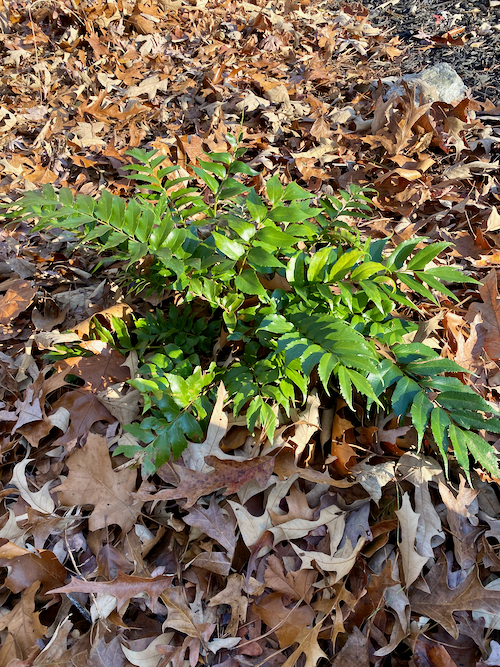
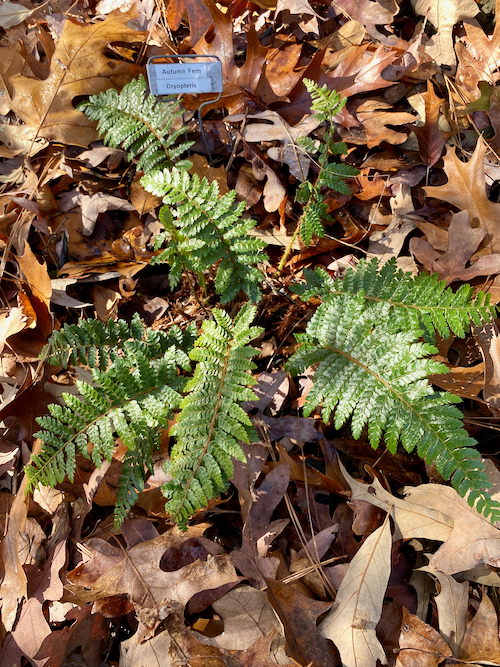
The ferns love the rich soil and filtered sun in this area of our woodland garden. Our first stage changeup is to add ferns and focus on the arrangement. But, the next season plan is to mix in several variegated Hostas to add even more interest!
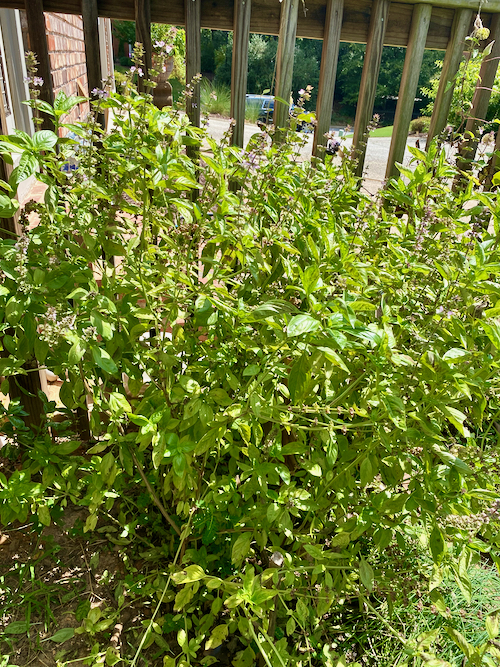
Too Much End of Season Basil? Make Pesto!
We had an abundance of basil this year! So, I made lots of Pesto and stored small containers in the freezer to grab whenever creating a dish with basil pesto in the recipe. Additionally, there’s also dehydrated/dried basil in the pantry for other recipes that call for it. We’re on a mission to utilize perfectly good basil to keep it from going to waste! And, we saved Basil seeds to plant next year!
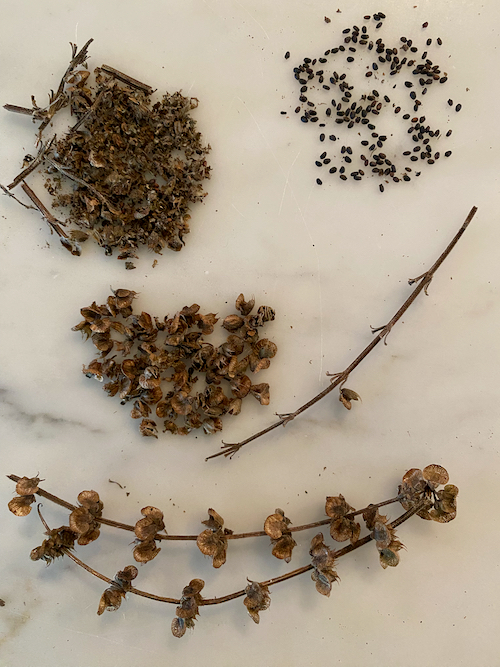
Here are the quick, easy steps to having all the Pesto you’ll need for a while!
Pick the youngest leaves on the plant. If it’s a large plant like mine, choose the leaves at the end of the branches. As you can see in the photo, there are still a lot of leaves to choose from. Small leaves are fine, no yellowing, and no brown spots or eaten edges. Dunk and swish them in some fresh, clean water and shake off to dry.
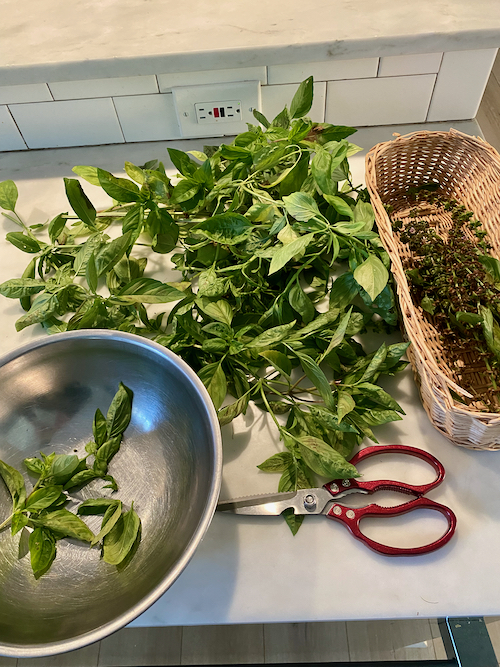
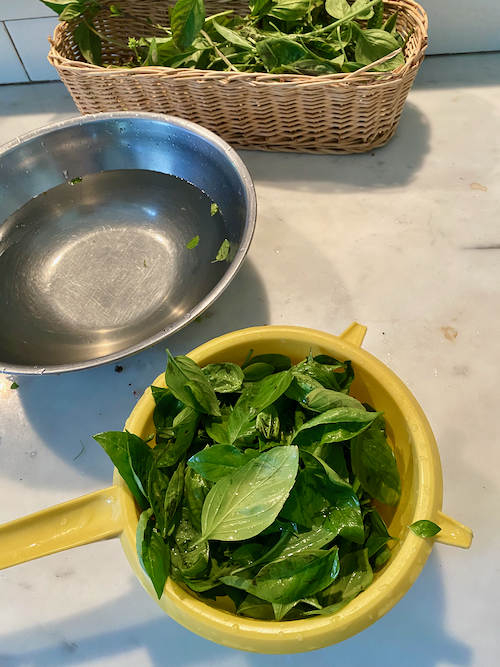
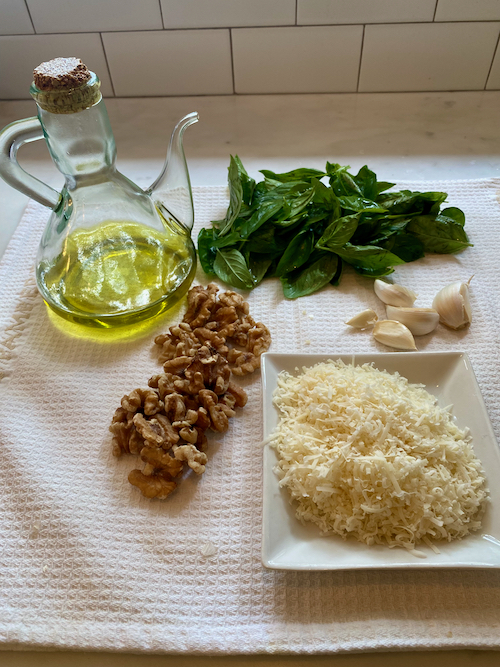
Steps to Make Your Own Pesto Recipe:
1: Lay out all your ingredients close by. Grate some fresh Parmigiano-Reggiano cheese and set aside.
2: Use approximately 2 loose cups of rinsed Basil, clean skins off 2-4 large garlic cloves, (depending on size), gather 1/3-1/2 cup of walnuts, 2/3 cup of extra virgin olive oil, and 1/2-3/4 cup your fresh grated cheese, salt and pepper. Adjust ingredient measurements to your choice of taste and texture.
3: Add basil, garlic and walnuts to your processor and pulse several times until you’ve reached a consistent texture of the ingredients.
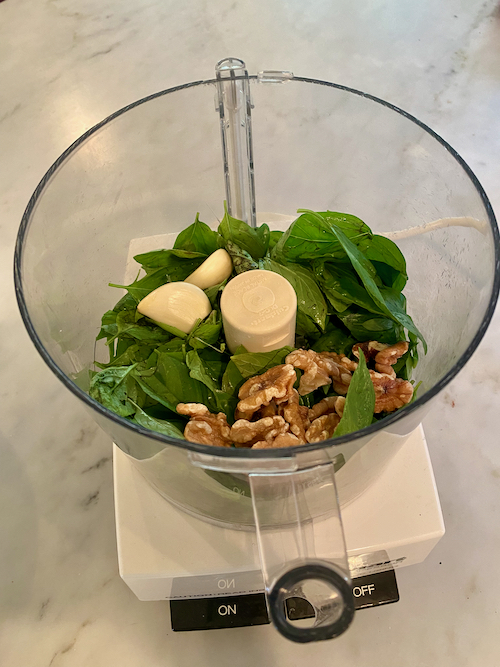
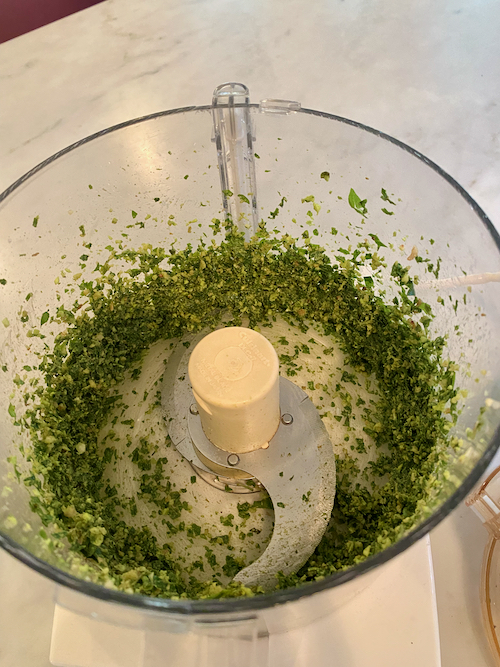
4: Slowly add in the olive oil while processor is running until well blended
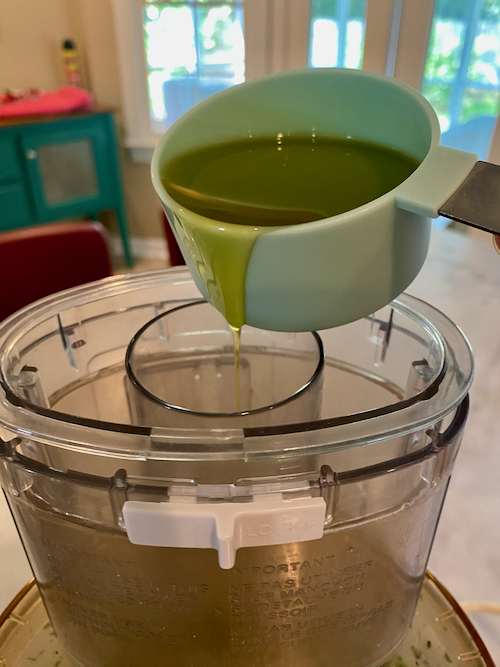
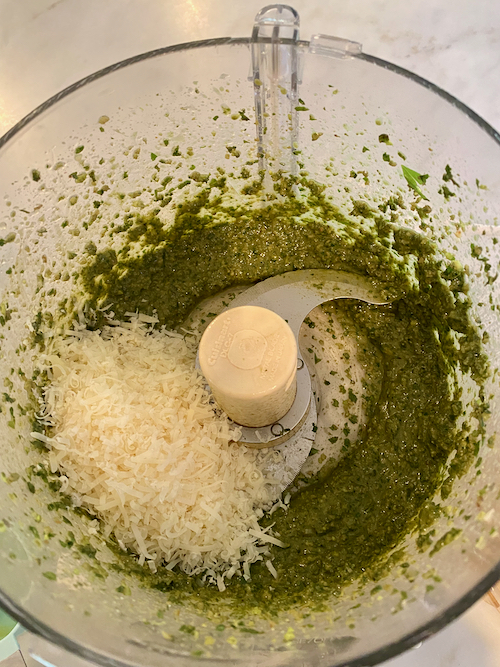
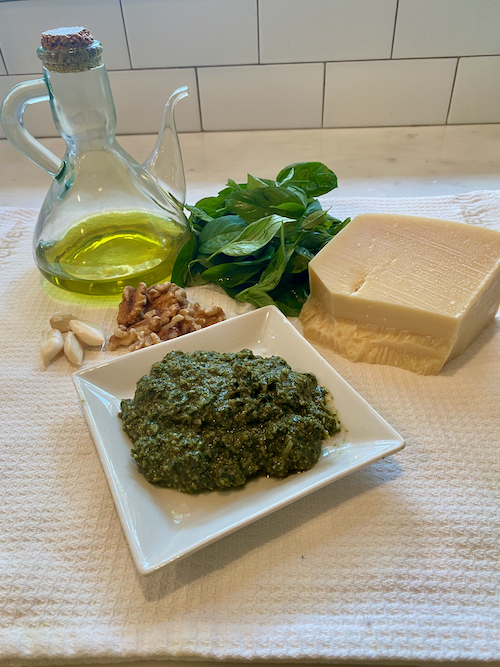
5: Add the grated Parmesan cheese into the mixture and process for 1 minute to thoroughly blend. Add salt and pepper to your taste.
Here’s the yummy finished product. Smells great and tastes even better! I split this amount of Pesto into 4 small containers and put them in the freezer. That way I can grab as many as I need for the number of people I’ll be serving.
Hi, we too have an abundance of basil at the end of the year. How much basil did you use in the pesto recipe? Looks like a couple of cups from the pictures – loosely packed? How is it after coming out of the freezer compared to fresh? Thanks!
Hi Brian, you’re right on with the amount of basil, loose 2 cups. I base it on the taste and texture I want so if I need to, I add more basil, or other ingredients to make up for too much basil. Since it’s a finished product, if it’s well sealed, it freezes well. I try to use it within 6 months or so. When serving, I always make sure I top the dish off with freshly grated Parmesan cheese! Enjoy the Holidays!
Great pictures. Rest in the winter then right back to work.