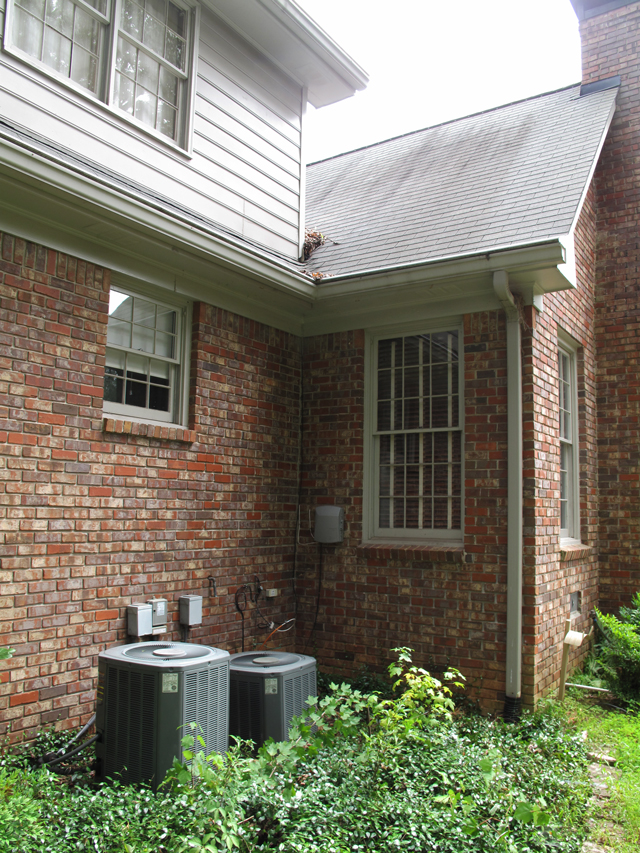
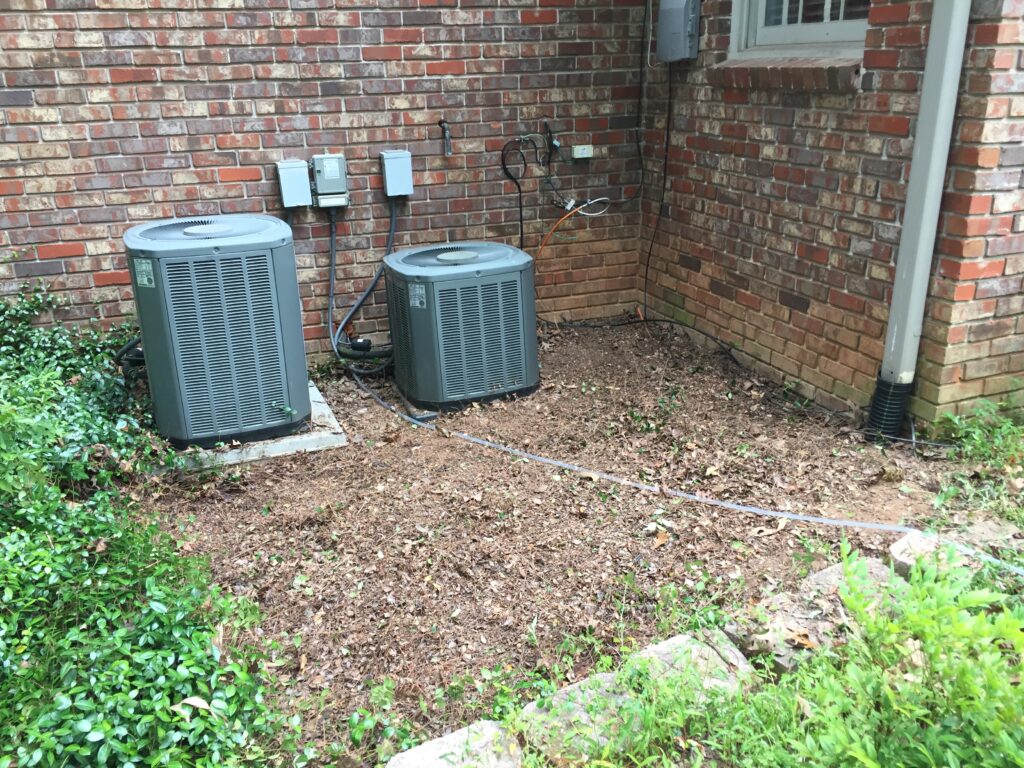
We finished building a rain barrel stand to support our 58-gallon water barrel. Now, its time to install the rain barrel and a downspout diverter to collect rainwater from the roof. We’re using a solid base of pavers to safely support both the stand and a full rain barrel. By setting up a rainwater collection system we hope to avoid another dry summer and fall like the one we just experienced. It was hard on our plants, yard and our budget!
Logic reigns high in the process of selecting a location for your water barrel. Here are some key points to consider when choosing your site:
1. Install the rain barrel and stand as close as possible to the area where you will be using the rainwater.
2. Choose a downspout that drains from an area of the roof that has no trees over it.
3. Consider your traffic pattern in the area, such as patio, BBQ, play equipment, etc.
4. Be mindful of your neighbors view as well as the view from your own windows. We chose an area at the back of our house that meets all of these criteria.
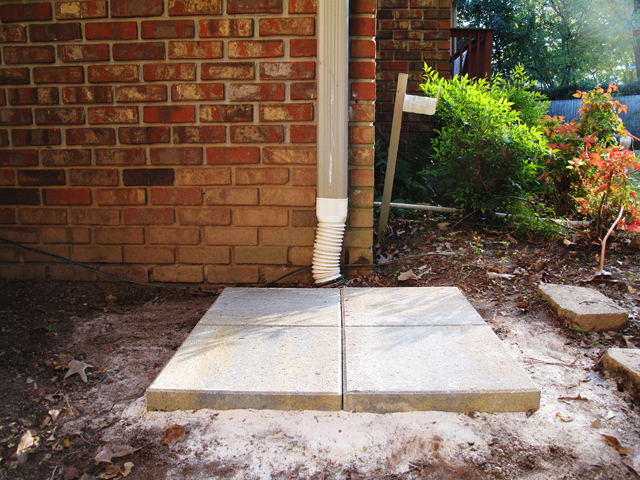
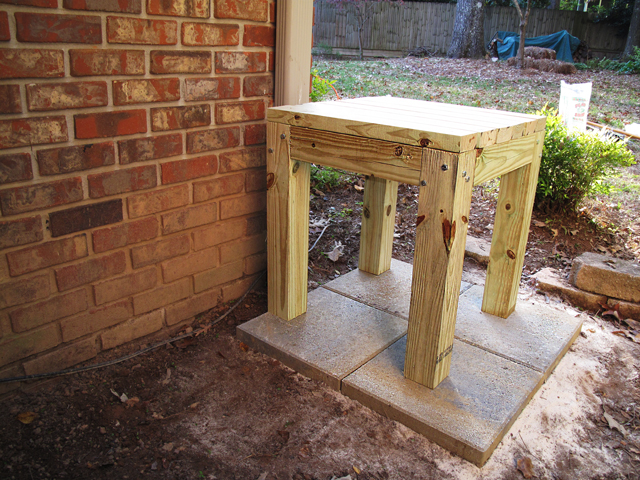
Place Your Rain Barrel On A Solid Base
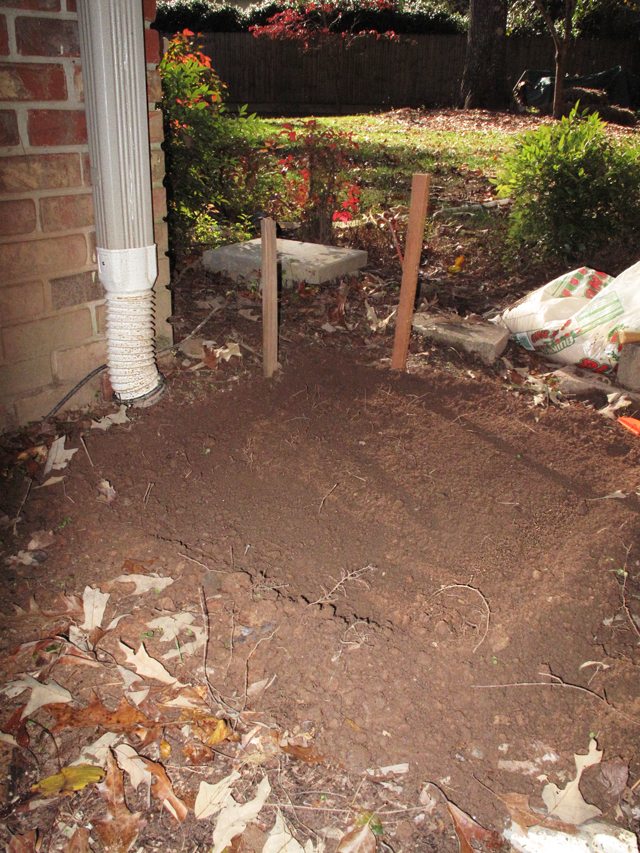
Once you know where you’re going to put the stand and barrel, make sure both will be stable when they are in place. Clearly, its important to start with the right base material to keep your pavers properly supported. Here are a few options:
- Sand. A thick layer of sand below your pavers will support them while allowing water to flow through properly.
- Crushed Stone. Roughly crushed stone makes a good base for pavers that will be used more regularly.
- Stone dust or compacted soil can work as well depending on your soil base.
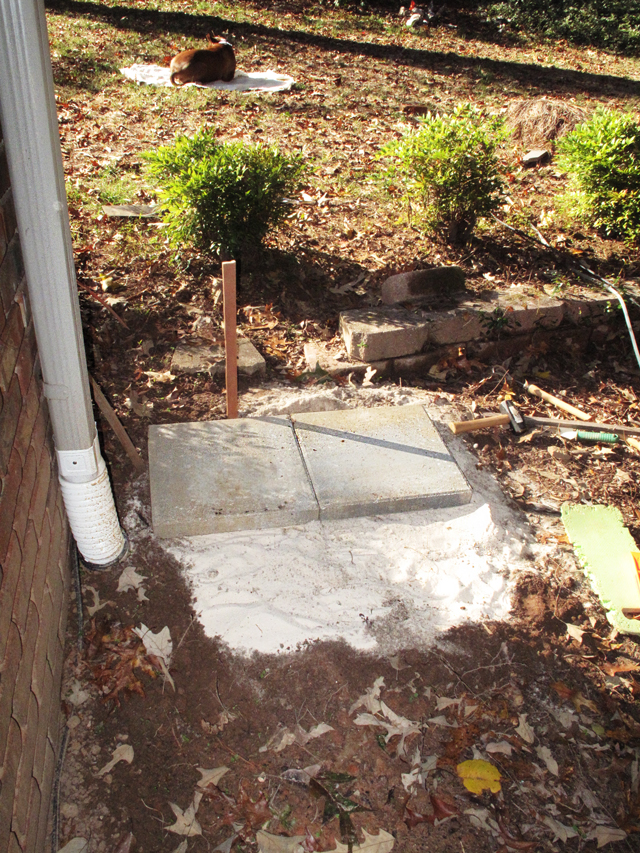
We have a lot of clay in our soil so it stays in place well. Once I smoothed the area for the pavers I added sand in order to help with drainage and the leveling process. Be aware that the pavers are heavy! So, be very careful moving them. I was very sore after this project!
I laid the four pavers in the sand base one at a time making sure that each was level. With that complete, next is to install the Downspout Diverter.
You can see our previous post about building the rain barrel stand here.
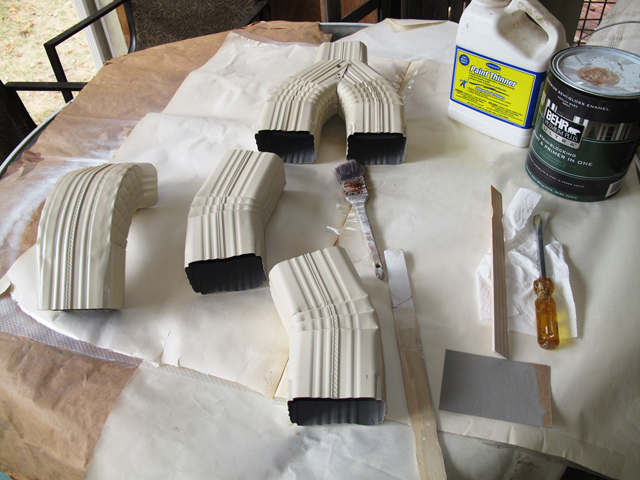
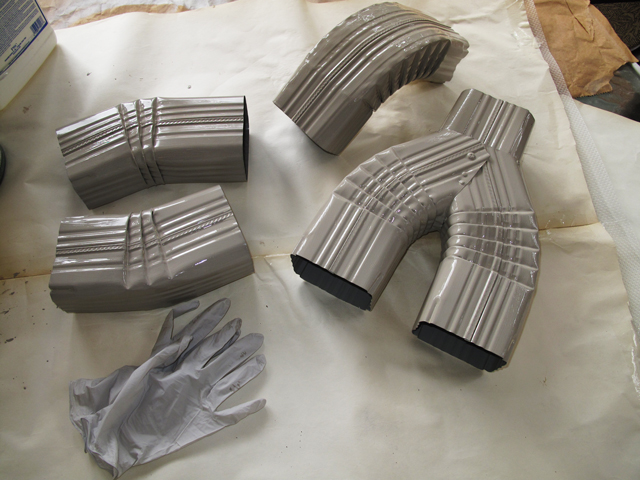
Choosing A Downspout Diverter To Collect Rainwater
First, you’ll need to choose a downspout diverter. There are several different designs on the market so just do some homework and choose one that works best for you. I chose a diverter that is the same material as our existing downspout. Then, I gave it a quick paint job so it would blend with the downspout already in place.
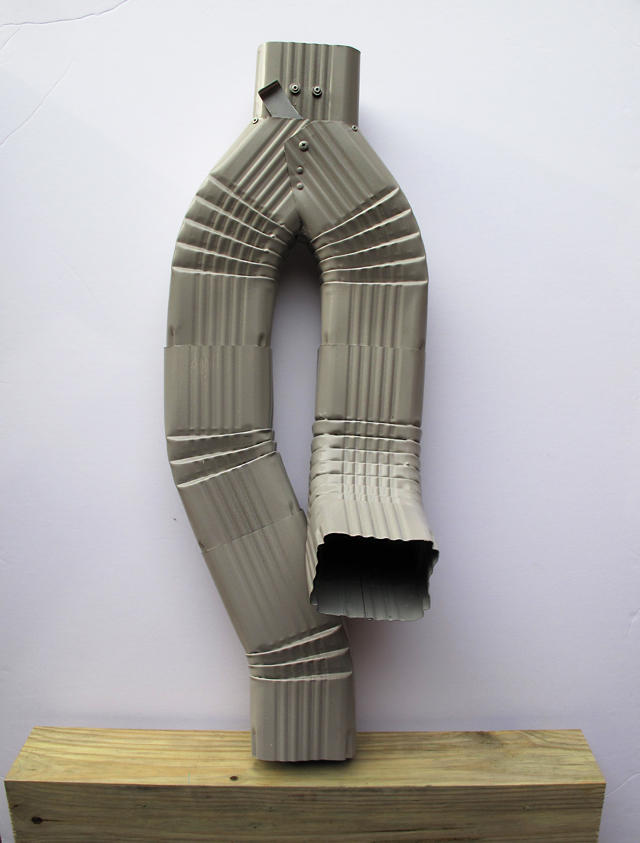
How To Use The Downspout Diverter To Collect Rainwater
The diverter has an on/off lever at the top that allows you to divert the water flowing through the downspout to the barrel. If you do not divert the water to the barrel it continues through the downspout into the flexible drain pipe and out to the public drain system. Ideally, start collecting (diverting) the rainwater into the barrel after it has been raining for 10 minutes or so. That way the roof debris has been cleared and the water you collect is cleaner.
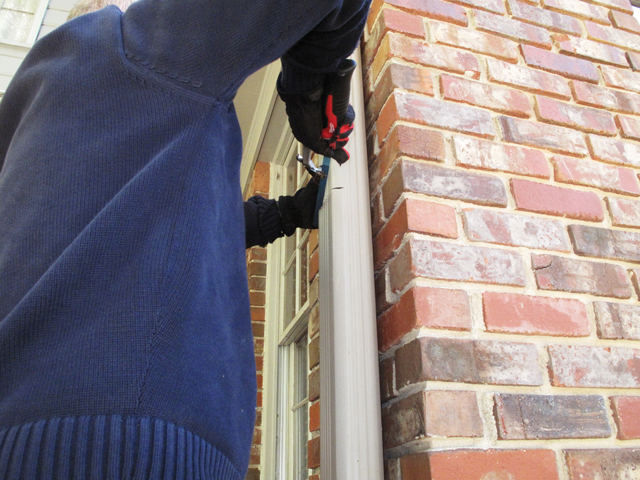
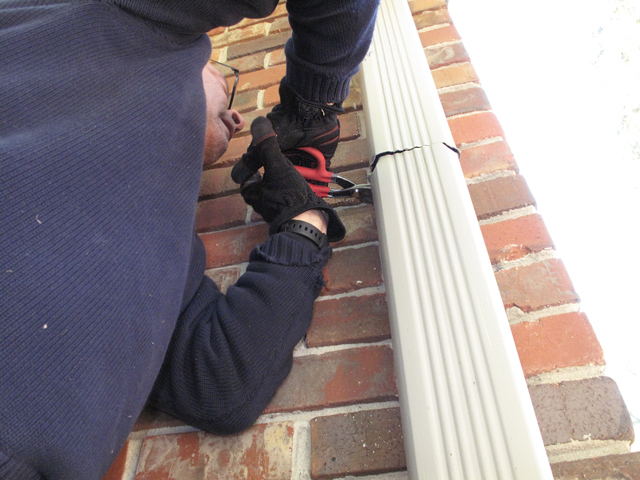
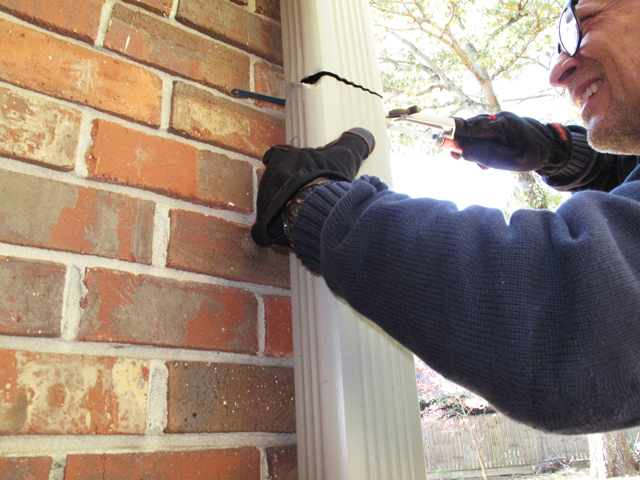
Removing A Section Of The Downspout To Install The Diverter
It’s necessary to remove a section of the existing downspout in order to add the new downspout diverter. The most important part of installing the Downspout Diverter is to make sure the height of the diverter is aligned to allow the water flowing down the spout to be diverted into the rain barrel. In order to test this, position the fully assembled Downspout Diverter beside the existing downspout and mark where your cuts should be made for the outflow end of the new Diverter to line up with the top of the water barrel. Measure several times and cut once!!
We used a 10” hacksaw blade, designed for close quarters work, and a pair of snips to finish off this job. After we made the cuts for the top of the diverter and for the bottom, we straightened the cut edges in order to insert the diverter.
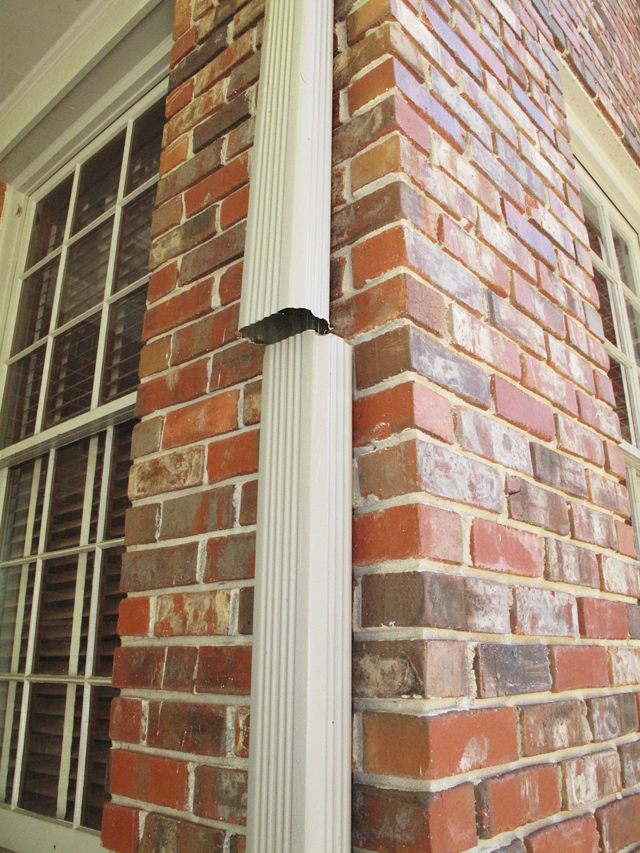
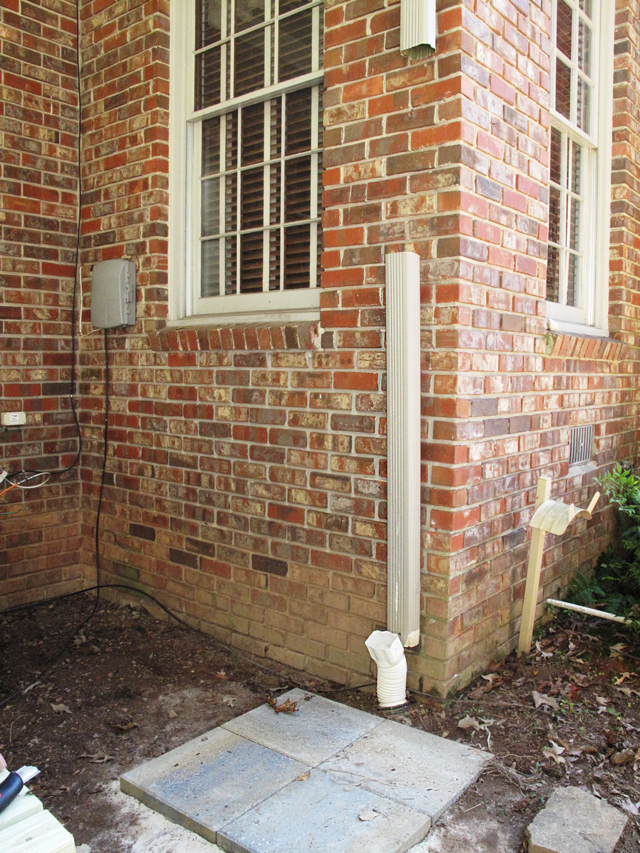
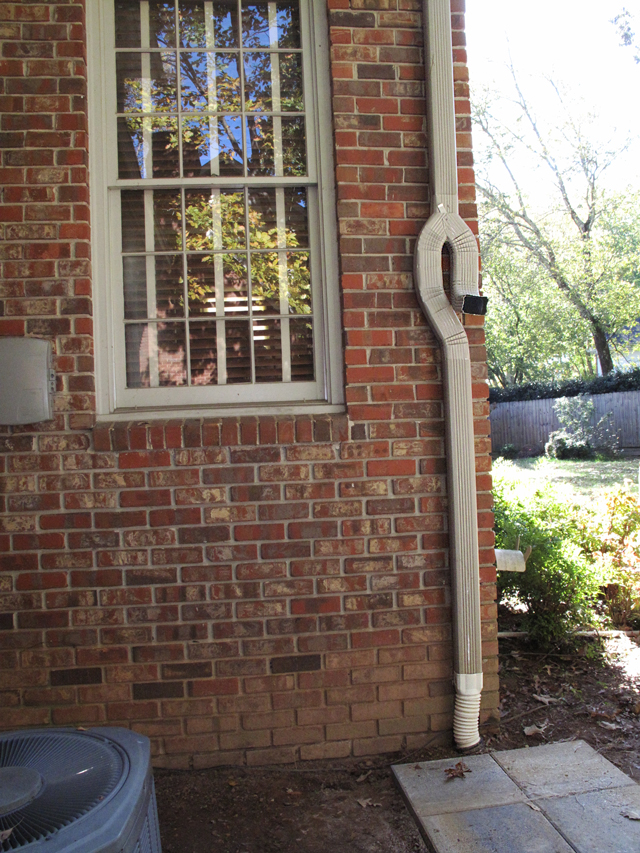
Now for the final step, insert the top downspout cut into the Downspout Diverter so the water flows through the Diverter without leaking. Then, do the same with the bottom cut, putting it inside the public sewer drain. If necessary, install small screws to assure there is no movement of the Diverter and use a waterproof sealer around the screws.
We recently had to replace this flexible drain as it was broken and leaking water along our foundation. You can see the post here.
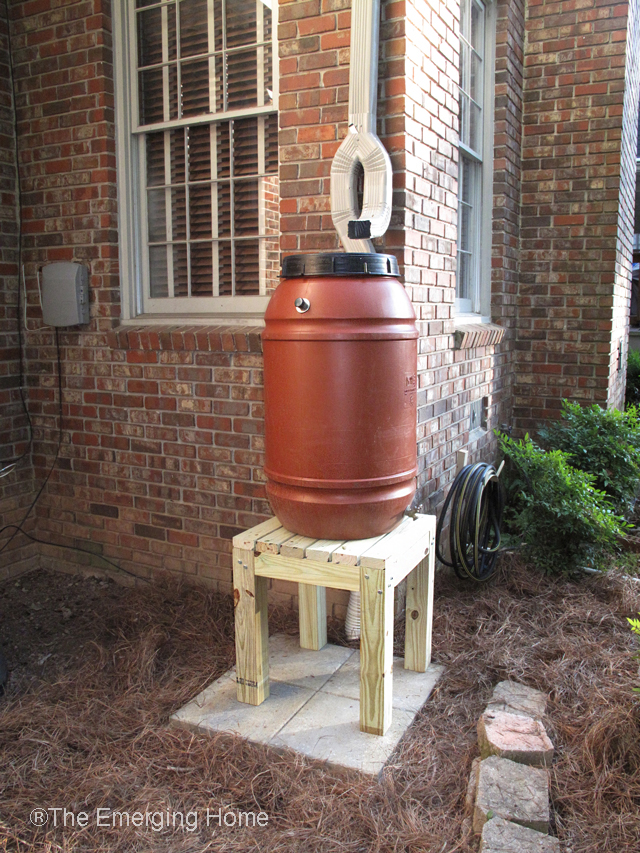
The Rain Barrel Works!
Our rain barrel is installed and, as if on cue, we had rain that same night for the first time in a long time. We have some rainwater in our newly installed rain barrel! All that’s left to do in order to have a fully functioning water barrel is to connect a hose to the overflow drain that’s located at the top of the barrel. The bottom spigot is good to go so we can either connect a hose or fill a watering can to keep our plants alive during the next dry season.
This link will give you a quick estimate on rainwater collection times and amounts. I used the link to calculate how much rain it will take to fill the new rain barrel!
I hope this post was helpful to you. Please comment and let us know your rain water collecting experience and any tips you have. We’re always learning.
SUPER! LOVED THE PICTURES TO HELP WITH VISUALIZATION. THANKS!!!
I’m so glad the post was helpful. We’re still loving our rain barrel. Thanks for coming to our blog. Happy Spring!
Looks great!!
Thanks very much for visiting our blog and for your comment.